Home Donate New Search Gallery Reviews How-To Books Links Workshops About Contact
Canon
6D Users Guide:
Camera-Icon Menus
© 2013 KenRockwell.com. All rights reserved.
< < top of Canon 6D User's Guide


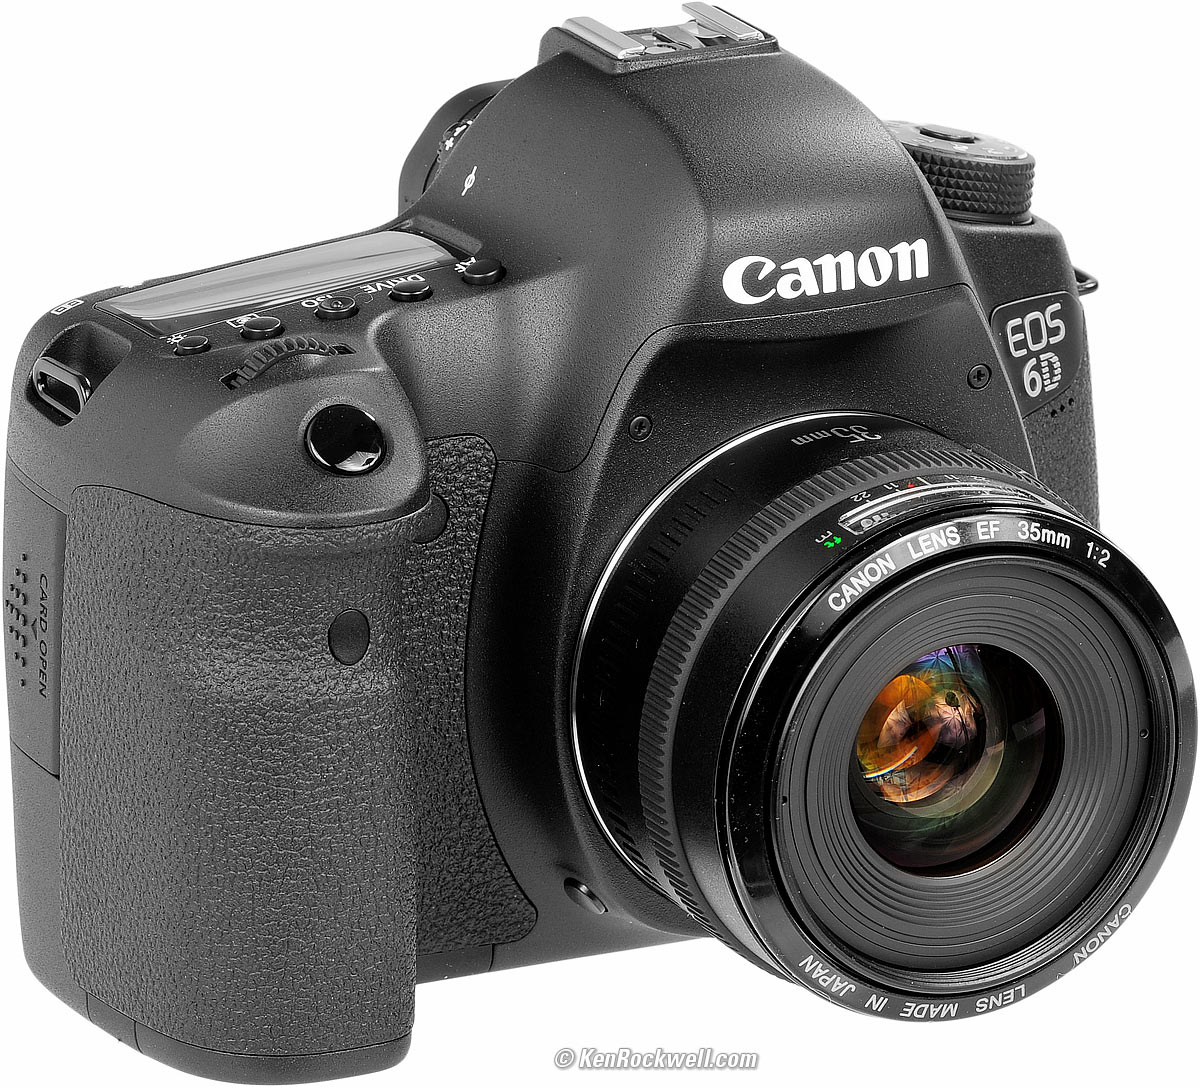
Canon 6D (33.5 oz./950g, about $2,000) and Canon EF 35mm f/2. enlarge. My biggest source of support is when you use any of these links, especially this link directly to it at Adorama (or kit with lens) or directly to it at Amazon (or kit with lens) when you get anything, regardless of the country in which you live. Thank you! Ken.
March 2013 Canon 6D Review Canon Reviews Other reviews
Help me help you top

|
I support my growing family through this free website, as crazy as it might seem.
The biggest help is when you use any of these links when you get anything, regardless of the country in which you live. It costs you nothing, and is this site's, and thus my family's, biggest source of support. These places have the best prices and service, which is why I've used them long before this website ever existed. I recommend them all personally.
If you find this page as helpful as a book you might have had to buy or a workshop you may have had to take, feel free to help me continue helping everyone.
If you've gotten your gear through one of my links or helped otherwise, you're family. It's great people like you who allow me to keep adding to this site full-time. Thanks!
If you haven't helped yet, please do, and consider helping me with a gift of $5.00.
As this page is copyrighted and formally registered, it is unlawful to make copies, especially in the form of printouts for personal use. If you wish to make a printout for personal use here from your browser, you are granted one-time permission only if you PayPal me $5.00 per printout or part thereof.
Thanks for reading!
Mr. & Mrs. Ken Rockwell, Ryan and Katie.
Free live help top
Want free live phone support? In the USA, call (800) OK-CANON.
Camera-Icon Menu Settings top
There are four camera-icon menus: CAMERA•, CAMERA••, CAMERA••• and CAMERA••••.
I leave most settings at their defaults.
To get to them, press MENU and click to the first four items along the top left. They look like four little camera icons, in red.
Here is how I set up my 6D:
CAMERA • top
The things you set here are:
Image Size
I use LARGE (L) for nature and landscapes where I realistically expect that some day I might need a mural-sized enlargement, and SMALL (S) for everything else, like my fun, family and people photos. Even at SMALL, the 6D's files are sharp enough to make any sized enlargement, like 20x30" (50 x 75 cm).
Feel free to use MEDIUM (M) or even LARGE all the time if you prefer, just know that you'll be clogging up memory cards and your computer and probably never, ever notice any real sharpness difference. (See also The Megapixel Myth.) SMALL is great for me for most of my photos except when I plan on twelve-foot (4 meter) tall prints.
Image File Format
I use JPG NORMAL (the stair-step icon).
The default of JPEG FINE (the quarter-circle icon) fits only half as many photos on a memory card, wastes twice as much space in your computer, and makes the data take twice as long to transfer, back-up or email.
Since the pictures look the same at BASIC, I use it so more pictures fit on my card, and more importantly, I don't clog up my computer and everything transfers, copies and sends twice as fast. FINE is twice as big again as NORMAL.
You also have your choice of taking actual pictures (JPEG, a.k.a. JPG), or simply storing the raw data (CRW) that won't become a picture until you process it later in your computer.
I always use JPG. CRW (raw) is mostly for photo learners who don't yet know how to set their camera properly. Since you're reading this, I doubt you'll need the CRW crutch, and if you do, having to use more programs in your computer before you can see the pictures adds a load of processing and makes the file sizes huge, but does nothing to improve the pictures if you know what you're doing. (See Raw vs. JPG for more.)
M RAW and S RAW are also raw CRW formats, but with reduced resolution. As raw data, they still take up a lot of room. I don't use any of these.
If you want to shoot in CRW, use the same process above, but move the top front dial as well as the left-right control to select JPG, CRW, or both.
Beep
Turn this to DISABLE.
Otherwise at its default setting, the 6D beeps every time it gets in focus.
Release shutter without card
For goodness' sake, turn this to DISABLE so your Canon 6D won't appear to take pictures without a memory card.
If you leave it at its default of ENABLE, even without a card you'll think you're shooting pictures and will be able to play and zoom each as you take it, but if you go on vacation for a week, only when you return might you then discover that you forgot to bring a memory card, and have no pictures!
Set it to OFF or DISABLE. I know people who have made important shots, even played and zoomed them, and never had a card in their cameras.
The only reason the option exists to "take" pictures without a card is for the old "retail" dealers who want to leave cameras out on display for people to play with — but not leave cards in the camera for bad guys to steal.
Image review
Set this to a time and the 6D will show your picture for that time after every shot.
At OFF, the 6D won't play the picture until you press the button.
At HOLD the 6D will leave the last shot up until you take the next.
CAMERA •• top
Lens Aberration Correction
This is a very important tool that lets me get great performance out of even older, cheaper Canon lenses.
See my complete explanation at my Canon 5D Mark III Users Guide. It's the same thing.
Here's where we set what our flash will do.
I don't change any of these, except disabling the external flash firing sometimes so I can use the flash's AF illuminator without the flash firing in the dark.
I leave all the TTL and etc. alone, and here's where you can play with it if you desire.
This is for when the 6D is mounted on telescopes or microscopes and we want as little vibration as possible.
If you set it to ON, the first press of the shutter flips up the mirror, and the second press fires the shutter — without the vibration of the flipping mirror.
The mirror flips down after each shot.
CAMERA ••• top
This is where we set the size of the exposure bracketing steps.
You also can set the exposure compensation here, in addition to its usual setting with the rear dial.
Once set here, press the shutter to get your bracketed shots.
This is easier to find at the [Q] Quick Control button.
ISO speed settings top
I use Auto ISO, which lets the 6D set itself perfectly in any light.
ISO, pronounced "eye ess oh," sets the 6D's sensitivity to light. 100 is normal, while ISO 6,400 is extremely sensitive for very low light. The 6D goes all the way to ISO 102,400 if we really want to get silly.
Unlike film, the 6D also can be set to adjust itself to the light conditions all by itself.
When set to ISO to AUTO (which we can set more easily with the ISO button or the [Q] Quick Control button), ISO increases automatically as it gets darker so we don't have to stop and set it ourselves. It shoots at ISO 100 in good light, and at 1/15 of a second (or any speed you choose) it starts ramping up the ISO to a maximum of 6,400 (or any ISO you choose) as it gets darker. Only if it gets much darker will it let the shutter speed go below 1/15 at ISO 6,400, exactly as I'd do manually.
This menu allows us to preset AUTO ISO to work as we'd change ISO ourselves. In this menu we have:
ISO speed
These are the same settings we can find faster with the ISO button or the [Q] Quick Control button.
ISO speed range
This allows us to preset the range from which the ISO button or the [Q] Quick Control button can select fixed ISOs.
If you want to reach ISO 50 (L) or above ISO 12,800 or so, you have to set this menu item to allow it. You also can restrict the range if you'd rather not set extreme settings by accident.
I allow my manual range to select from ISO 100 to ISO 25,600.
Auto ISO range
This lets us define the ISO range over which AUTO ISO operates.
I set my AUTO ISO range to select from ISO 100 to ISO 12,800 for nature and landscape shots, and from ISO 100 to ISO 25,600 for people and action shots. I use the C1 and C2 modes to save this so I can recall one or the other in the flick of one dial.
Min shutter spd.
This is the slowest shutter speed below which AUTO ISO will start increasing ISO as the light gets darker. In other words, as the light dims, the 6D in AUTO ISO will increase ISO instead of using slower shutter speeds.
I set this to the slowest speed I can use without blur. For people shots I set 1/125, for sports I set 1/250, and for nature and landscape shots I set AUTO, which lets the 6D choose the slowest speed based on the focal length of the lens.
Unlike Nikon, there is no way to set AUTO slowest speed to anything other than about 1/focal length.
AUTO ISO isn't smart enough to know if you have an IS lens or not.
Auto Lighting Optimizer (shadow lightening) top
I leave this on all the time at its default of AUTO. It lightens shadows as needed, and leaves things alone if not.
White Balance top
This is another way to set White Balance. I prefer to set it with the [Q] Quick Control button.
I use AUTO.
See How to Set White Balance and White Balance Examples to learn when and why you'd want to use these settings.
The only time I use other than AUTO is under oddball artificial lighting where AUTO isn't working well, which is unusual.
Custom White Balance top
This is where you can set White Balance to a white or gray card.
It's a pain to use; just follow the instructions on the screen. You first have to make a picture of your gray card, and then set this to it, and then set White Balance to the custom position! Other brands of camera make this much easier, and astoundingly Canon's video cameras can do all this with one push of a dedicated button. Oh well.
WB Shift/Bkt. top
I prefer a slightly warmer (more amber) image, so I set A2 (amber 2) by using this option and clicking two to the right to A2. As you set this, you'll see a colored chart. A and B are Amber and Blue, while M and G are Magenta and Green.
This is also where you can set White Balance shift bracketing, which means that your 6D will save a few images, each with slightly different color balance. This can be helpful in letting you shoot under many settings, and when you look at your images later, learning which settings you prefer so you can default to them in the future.
You can set any color offset you like. Simply move the controller around in this menu for any combination of amber/blue and green/magenta fine-tuning adjustments.
This setting applies to every white balance position, even AUTO and Kelvin.
For instance, here's a shot at a WB setting of AUTO with A5 trim:
Too amber!
I then made another shot at 2,500K WB, which wasn't too amber (orange) any more, but now it was way too green!
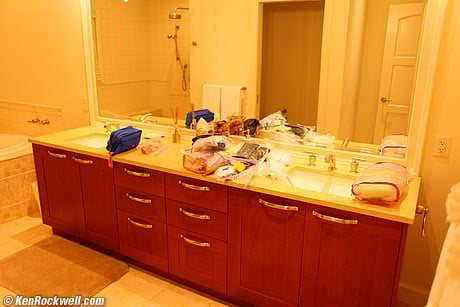
I tried a few other settings, and quickly settled on A5 (amber) and M5 (magenta) WB SHIFT, easily tweaked by looking at the LCD as I changed settings for each shot. The LEICA M9 can't do this!
Maui Bathroom: Mixed CFL and halogen lighting, 2,500K A5 M5 WB. bigger.
Color Space top
Use only sRGB.
Adobe RGB gives softer colors.
See sRGB vs. Adobe RGB for more.
CAMERA •••• top
Picture Style top
This is where you set the look of your images. Do you want brighter or duller colors, more or less contrast, or even black-and-white? This is where we set it.
The 6D has a slightly different look with any given setting of the Picture Styles than my 5D Mark III, no big deal, but pay attention when moving to the 6D from another camera to be sure to fine-tune your settings to your taste. I found that my 6D has more shadow contrast than my other cameras, so for people shots, I set a lower contrast.
The 6D defaults to an AUTO Picture Style, which is one that tries to guess what you're shooting and set itself accordingly. I've never tried this; I prefer to force it to the picture style I want for each condition because I know what I want. You may wish to try AUTO and it might be awesome as well.
For People
I use STANDARD with
Sharpening set to 6,
Contrast set to -2, and
Saturation and Color tone left at zero.
For Places and Things
I use STANDARD with
Sharpening set to 6,
Contrast left at zero,
Saturation set to +3 or +4,
and Color tone left at zero.
Play around and see what you prefer. I'm always changing my preferences depending on the subject and the look I want. This is how I get award-winning images right out of my camera as JPGs with no other twiddling needed.
To set these, press:
MENU > CAMERA•••• > Picture Style > SET > (select STANDARD or your choice) > INFO and have at it.
Long exp. noise reduction top
I leave this OFF.
This is to help with long exposures of several seconds of more. It has nothing to do with high ISO noise, and at high ISOs (ISO 1,600 and above), can make things worse. This, if you choose to use it, is for long exposures at moderate to low ISOs.
Long exposure noise looks like bands or streaks, or fog, especially at the sides of images. These problems haven't been seen much since the early 2000s, so this feature isn't likely to help, but it does make the picture take about twice as long to expose.
If set to AUTO or ON, it forces the 6D to make a second equally long exposure of black, and subtract that null-frame from your shot. The advantage of this is the potential for reduced image noise, but the disadvantage is having to wait much longer for long exposures to complete.
The 6D is so clean that I leave this off and have no problem with noise. I'd only turn this on if long exposures are loaded with colored fog or noise.
High ISO speed NR top
I leave this at the default standard setting.
Setting it to OFF or LOW may make slightly sharper pictures at high ISOs, but with more noise.
Setting it to HIGH will reduce the noise at higher ISOs, but also makes the images a little bit softer.
Feel free to adjust it if you like; we all have our preferences for sharpness versus noise. It has the biggest effect at high ISOs like 6,400, and little to no effect at normal ISOs like 100.
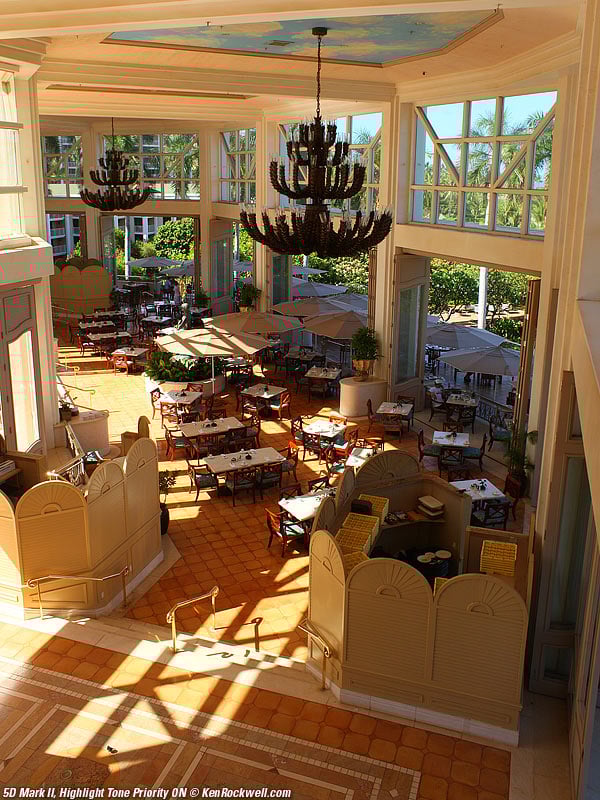
Highlight tone priority top
I leave this OFF. If I turn it on, the Canon 6D won't allow me to use the Automatic Lighting Optimizer at the same time, which I prefer.
With Highlight tone priority ON, it reduces exposure and increases ISO a bit to help retain more highlight detail. I see little to no difference in the photos, but using this sometimes it increases shadow noise.
As always, feel free to play with this option if you like and see if you prefer the results.
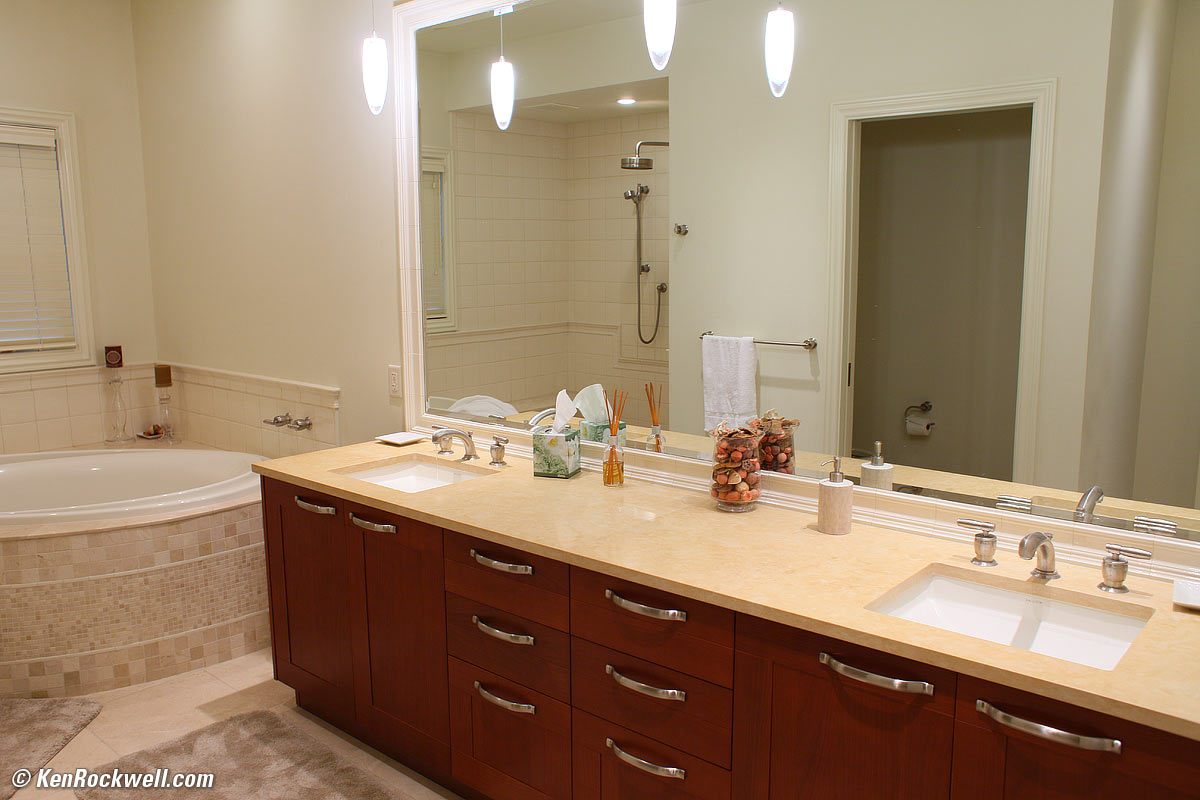
My house. Roll mouse-over to see with highlight recovery OFF.
Highlight recovery works by reducing exposure, and them lightening most of the of the image, except for the highlights. Everything stays the same, except that blown-out highlights might not blow-out, but only if you're lucky.
It rarely makes any visible improvement. This example is the one time it actually did. It only pulls-in about one more stop, and when you've lost a highlight, it usually is either further overexposed than that, or it's OK without any of these shenanigans.
"Reducing exposure" is another way of saying that it shoots at a higher ISO by default. You can't shoot at ISO 50 or ISO 100; with highlight recovery ON, it starts at ISO 200.
Dust Delete Data top
This is a feature to record an image of the dust on your sensor. Later, if you diddle with the correct special software, that software can use this data to help remove that same dust from your images.
Be wary that if you want to try this (I've never used it), that as soon as the dust moves around on your sensor, this whole thing goes out the window.
Multiple exposure top
I never use this.
This lets you take several pictures on top of each other.
HDR mode (high dynamic range) top
I never use this either.
If you set it ON, the 6D will take a few pictures of the same thing at different exposures, and combine the image into one JPG that should capture more detail over a larger range from light to dark than would one single exposure.
The 6D processes all the images, and records a finished result, no software or other work needed. You can select it to save all the original source images, too, if you want them.
A tripod helps to keep the images aligned.
To use it, set Adjust dyn range to anything other than DISABLE. I prefer the AUTO setting; the camera knows better than we do what it needs. The ±1, ±2 and ±3 EV settings manually fix the range over which the 6D works in HDR; the AUTO setting figures it out for itself.
This only works when set to JPG; it won't work in RAW or RAW + JPG.
Even though I don't use it, feel free to play with it all you want.
LIVE VIEW Menu <— Next
Home Donate New Search Gallery Reviews How-To Books Links Workshops About Contact