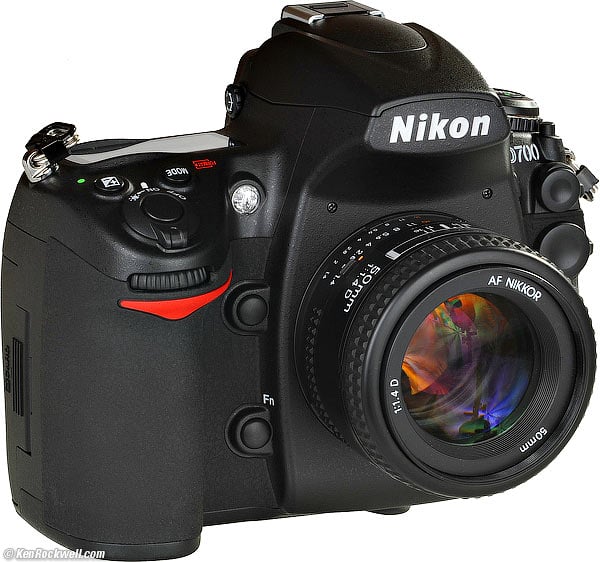
Nikon
D700 User's Guide:
Custom Setting Menu: Metering/Exposure
© 2008 KenRockwell.com. All rights reserved.

August 2008 Top of D700 Users Guide D700 Review More Nikon Reviews
NEW: Nikon D700 User's Guide for iPhone and iPod. 12 December 2009
Want free live phone support? In the USA, call (800) NIKON-UX, 24 hours a day, 365 days a year.
b1 - b6 Metering/exposure
How to Get Here
Press MENU, go to the left and select up and down to the pencil icon. You'll then see CUSTOM SETTING MENU on the color LCD. Click down to b METERING/EXPOSURE and click to the right.
What it Does
Here we set important metering and ISO options.
What I Change
I change b1 and b2. I leave the rest alone.
b1 ISO sensitivity step value top
This defaults to 1/3 stops. That's silly.
I set mine to change the ISO in full stops. I shoot at 200, 400, 800, 1,600, 3,200 or 6,400 and don't waste time in-between. By not bothering with the in-between thirds I can select my ISOs faster with fewer clicks.
b2 EV steps for exposure control top
This defaults to 1/3 stops. I don't use this, except in manual exposure.
In the Auto modes I set it to full (1) stops. This lets me make my settings faster, since they take fewer clicks. Depth of field or motion control doesn't need more precision than a full stop.
Even though the D700 sets exposure steplessly, finder and EXIF readout of apertures and shutter speeds in auto modes is rounded to the nearest full stop. I prefer this; I have enough to worry about without having to do mental gymnastics to realize that f/6.3 is the same as f/5.6.
Design Flaw: Ideally Nikon would provide separate settings for manual and auto exposure. I'd set 1/3 stops for manual exposure and full stops in auto exposure (P, S and A modes). You need the precision in manual mode, but not in the auto modes, because the values chosen by the D700 are set steplessly regardless of how they are displayed.
b3 Exp comp/fine tune top
Leave this at 1/3. It's silly to fine tune in full stops. I tune in thirds.
b4 Easy exposure compensation top
This lets you alter your exposure by turning the front dial without having to press the Exposure Compensation (lighten/darken) button.
I love "Easy," which is the name of this feature, but it's too easy. I hit the dial too often by accident, so I don't use it. I leave it at its default of OFF.
RESET is a great idea if you use the EASY setting. RESET automatically resets the exposure compensation to zero every time you turn the camera back on. This is a very good idea. Otherwise you may lose a lot of shots from having a wrong value set from yesterday's last shot.
b5 Center-weighted area top
This sets the diameter of the sensitive part of the center weighted meter. These settings only take effect when you've selected center weighted metering.
I never use center weighted metering, so I certainly never play with this.
You also have the option of metering from the entire image, called "Average."
These modes went out in 1983 when the Matrix Meter was invented, but old-timers cling to these so Nikon leaves them in. I always use Matrix.
b6 Fine tune optimal exposure top
Don't do this!
This is a service adjustment that allows you to make permanent tweaks to the exposure meter calibrations. These settings do not show up on the control panels!
You'd use this if your camera were defective, or if you did something weird like convert it to infra-red.
If you dare do this, you can tweak the meters in sixth-stop increments, with different adjustments for each of the Matrix, Center-Weighted and Spot meters.
Don't do this. This should be hidden as a service facility tweak. If your shots are too dark or light you should have your camera repaired, or use the regular Exposure Compensation button.
My D700 User's Guide continues below.
I support my growing family through this website.
This guide is free to read online, but copyrighted and formally registered. If you haven't helped yet and would like to save or make a printed copy of this article for your camera bag, please send me $5.00 for each complete or partial copy that you print or save, for personal use only. Others charge $29.99 for crappier information, and with your honesty I can continue to offer these guides online for less.
If you bought your D700 by clicking through my links, then you've saved money and also helped me write this guide. Thank you and please enjoy it. It's great people like you, and those who help me otherwise, who allow me to keep adding to this site for everyone's benefit.
The biggest help is to use these links to Adorama, Amazon, B&H, Ritz and J&R when you get your goodies. It saves you money and is a huge help to me. These places have the best prices and service, which is why I've used them since before this website existed. I recommend them all personally.
Thanks for reading!
Ken
Back to Top of D700 User's Guide or Top of Nikon D700 Review
KNOBS and BUTTONS
MENUS
c Timers/AE&AF Lock < < NEXT