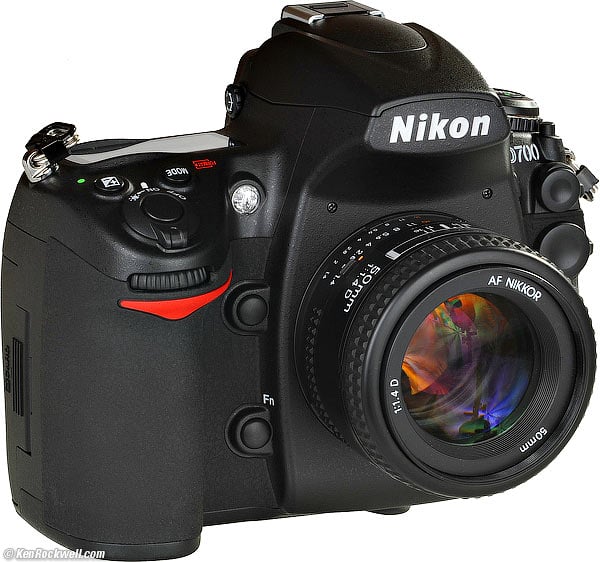
Nikon
D700 User's Guide:
Custom Setting Menu: Bracketing/flash
© 2008 KenRockwell.com. All rights reserved.

August 2008 Top of D700 Users Guide D700 Review More Nikon Reviews
NEW: Nikon D700 User's Guide for iPhone and iPod. 12 December 2009
Want free live phone support? In the USA, call (800) NIKON-UX, 24 hours a day, 365 days a year.
e1 - e7: Bracketing/flash
How to Get Here
Press MENU, go to the left and select up and down to the pencil icon. You'll then see CUSTOM SETTING MENU on the color LCD. Click down to e BRACKETING/FLASH and click to the right.
What it Does
It sets flash function and completely unrelated bracketing options.
What I Change
I change e4, and leave the rest alone.
e1 Flash Sync Speed top
This lets you select a lower flash sync speed. You might want to choose a slower speed to let in more ambient light, but I select that with the next option.
This menu lets you select 1/60 through 1/250.
It also is where you must select AUTO FP if you wish to use the trick FP high-speed sync modes.
e2 Flash Shutter Speed top
This selects the slowest shutter speed with flash in the P and A modes.
1/60 is default. I usually set about 1/30 or 1/15 to let in more ambient light to prevent my backgrounds from blacking-out.
Slower speeds like 1/8 let the backgrounds stay much lighter, but greatly increase the chances of motion blur.
e3 Flash cntrl for built-in flash top
This sets what the built-in flash does.
By default it works like a TTL flash. That's good. It works great.
You also may set it manually, or play with an idiotic repeating strobe mode.
Hidden in the C(bolt) Commander mode menu is how to set the flash to become the commander to talk to a wireless remote flash, which today is the SB-600, SB-800 and SB-900.
Under this menu you can set two groups of external flashes separately, as well as how much light comes from the built-in flash.
"Comp" is the exposure compensation (brightness) for each of these groups of lights.
You can set lighting ratios of remote flashes, right from the D700!
Here's how to get it to work:
Select C mode.
Trick: You have to set Channel 3, not the default of 1, to get this to work! My SB-600 defaults to channel 3. You can any channel, but the flash and camera have to match. Different channels are handy if you have a lot of photographers shooting in the same arena. No, I have no idea why the D70 defaults to 3 as does the SB-600, and the D700 defaults to ch. 1.
Leave the rest of it alone. Set your flash for remote operation, and away you go. I prefer to save all this in a bank as explained at the Custom Setting Menu page. This way I save a lot of twiddling when I want to use remote flash, and save it again when I want to go back to normal.
See also my page on how to use remote flash. It's an incredible feature, and it's free if you have an SB-600, SB-800 and SB-900.
e4 Modeling Flash top
Turn this off!
Otherwise you'll go blind, because at its default, a design flaw, it fires a zillion flash shots as a modeling light if you tap the Depth-of-field preview button.
e5 Auto BKT Set top
This controls what changes when you have the D700 bracket.
You can have everything change exposure, or just the flash, or the ambient light, or have the WB bracket.
I never use these. Bracketing is for the weak. Use your LCD for crying out loud. This feature is a left-over from film cameras, and real photographers never used bracketing with film either.
e6 Auto bracketing (mode M) top
This controls what changes when letting the D700 bracket itself in manual exposure mode.
I never use this.
e7 Bracketing order top
This sets the order in which the various bracketed exposures are made.
My D700 User's Guide continues below.
I support my growing family through this website.
This guide is free to read online, but copyrighted and formally registered. If you haven't helped yet and would like to save or make a printed copy of this article for your camera bag, please send me $5.00 for each complete or partial copy that you print or save, for personal use only. Others charge $29.99 for crappier information, and with your honesty I can continue to offer these guides online for less.
If you bought your D700 by clicking through my links, then you've saved money and also helped me write this guide. Thank you and please enjoy it. It's great people like you, and those who help me otherwise, who allow me to keep adding to this site for everyone's benefit.
The biggest help is to use these links to Adorama, Amazon, B&H, Ritz and J&R when you get your goodies. It saves you money and is a huge help to me. These places have the best prices and service, which is why I've used them since before this website existed. I recommend them all personally.
Thanks for reading!
Ken
Back to Top of D700 User's Guide or Top of Nikon D700 Review
KNOBS and BUTTONS
MENUS
f Controls < < NEXT