Sony RX10 Mk IV User's Guide
< < back to Sony RX10 Mk IV Review
Sony: A9 III A1 II A1 A9 II A7R VI A7R V A7R IV A7 V A7 IV A7 III A7S III A7CR A7C II A7c FX3 FX2 ZV-E1 A6700 A6600 A6400 ZV-E10 II ZV-E10 ZV-1 II RX1R III RX10 V RX10 IV RX100/7 Flash Lenses

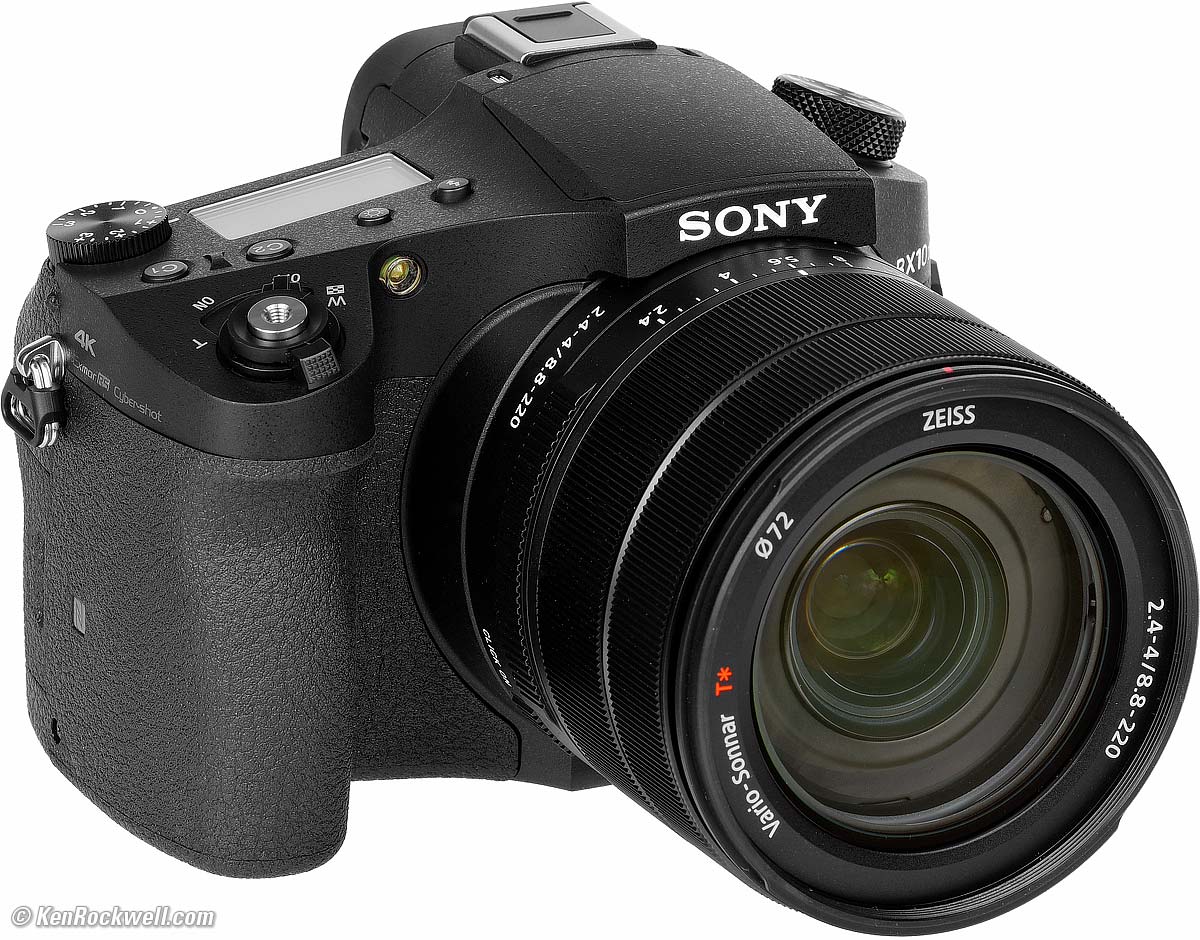
Sony RX10 Mk IV (72mm filters, 38.4 oz./1,090g with battery and card, about $1,698) bigger. I'd get mine at Adorama, at Amazon, at B&H, or at Crutchfield, or get it used if you know How to Win at eBay.
April 2018 Sony Zeiss Nikon Canon Fuji LEICA All Reviews
< < back to Sony RX10 Mk IV Review
See also Sony's RX10 IV User's Guide PDF.
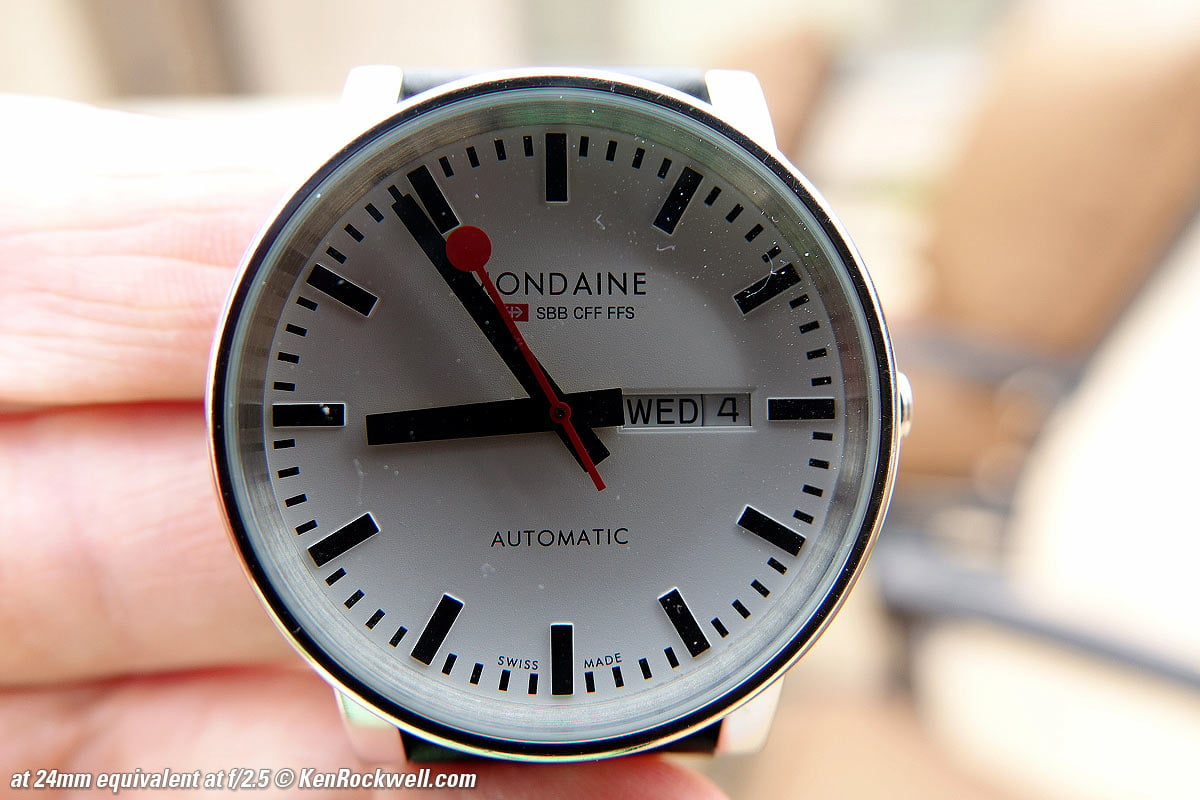
Sony RX10 Mk IV at 24mm setting. bigger. Yes, the shutter button is threaded to take a real cable release!
Basic Setup & Menus
Sony does an excellent job of hiding what we need in completely random locations.
Here's where I find what I need and how I set it.
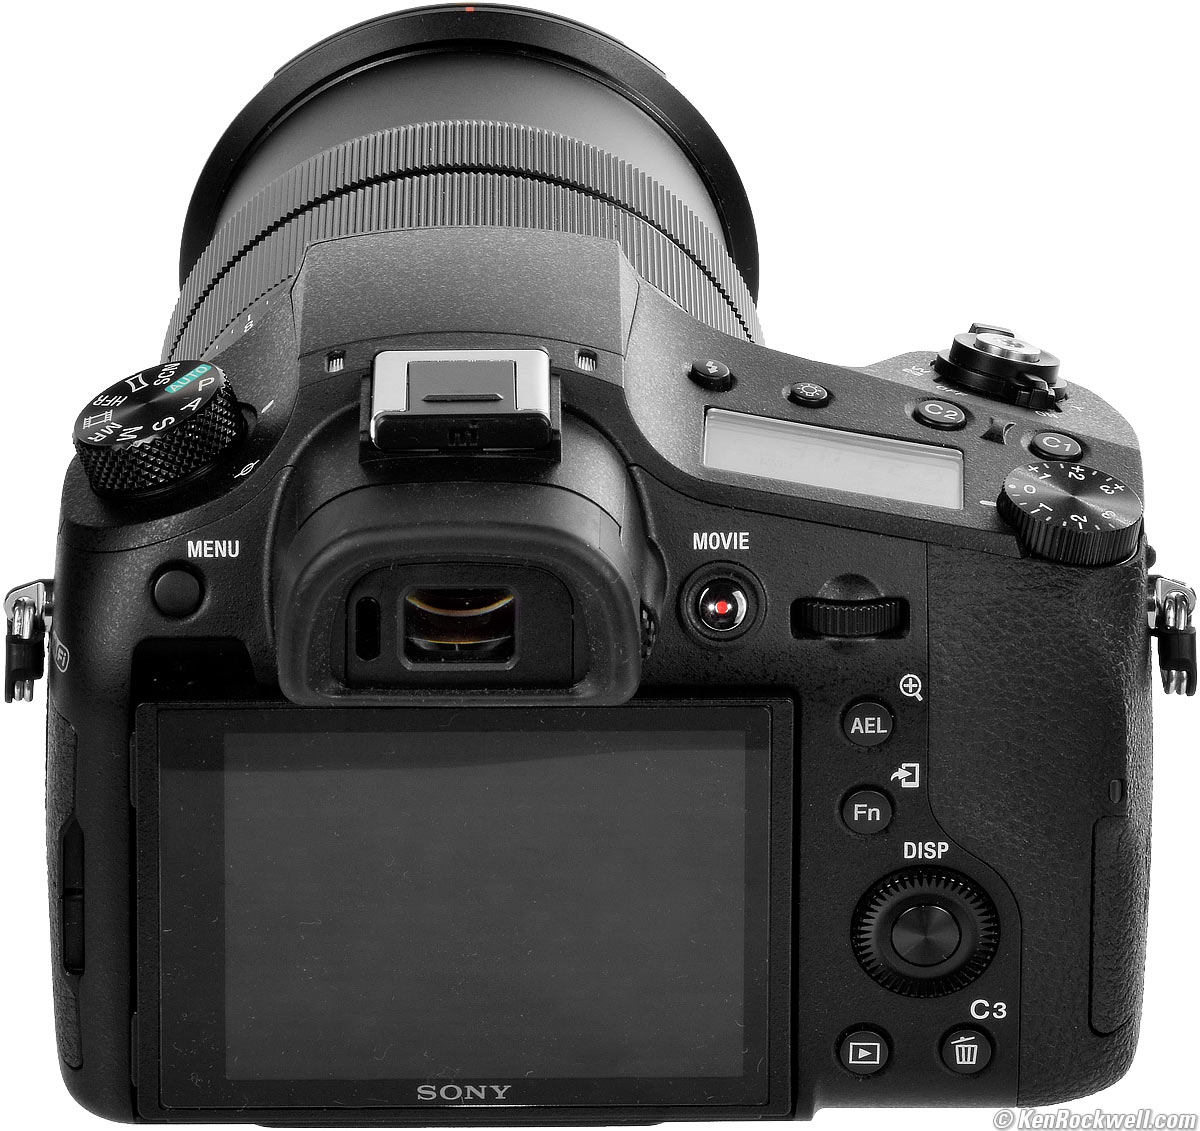
The MENU button is at the top left on the back of the RX10:
Sony RX10 Mk IV. bigger.
Set Clock
MENU > Setup > page 4.
Format card
MENU > Setup > page 5.
Copyright Info
MENU > Setup > page 5.
Set this to record your name and contact information into the EXIF data of every picture you take.
Memories
MENU > Camera 1 > page 3 (explained below).
Face Detection / Facial Recognition
MENU > Camera 1 > page 14.
Set this ON. It's off by default, and critical to making this camera run brilliantly.
Shutter Type (Silent Mode)
MENU > Camera 2 > page 5.
I leave this at AUTO; I prefer the silent electronic shutter, except that flash only works with the regular nearly-silent mechanical shutter. When set to Auto, the RX10 just figures this out on its own.
Image Review
MENU > Camera 2 > page 8 > Auto Review > OFF.
I leave this off. It slows me down if left on.
Custom Buttons
MENU > Camera 2 > page 9.
This is where you program all the buttons as you want.
Program these as you like; I set mine to:
C1: Auto ISO Minimum Shutter Speed.
C2: Aspect Ratio (cropping).
C3: Zoom Assist (more about this feature below).
Beeps
MENU > Camera 2 > page 10 > Audio Signals.
Please turn these off for your own sanity.
Touch screen
MENU > Setup 2 > page 2.
Be sure to turn this OFF, otherwise your nose constantly will hit the touch screen and reset the AF area to the lower left. It took me a long time to figure out why my camera was mysteriously reselecting those AF areas on its own!
Steady Shot (Image Stabilization)
MENU > Camera 2 > page 5.
I leave this at its default of ON, unless I'm on a tripod, in which case I really have to turn it OFF, or it blurs my images.
Playback Rotation
Set this to "Auto" at MENU > Playback > page 3 and playback rotates as you turn the camera, just like an iPhone.
Daily Automatic Folder Creation
Set "Folder Name" to "Date Form" at MENU > Setup > page 6 > Folder Name so that the RX10 creates a new folder each day.
Memories
Here's how and why I set my memories.
I set these by first setting the camera as I like as described below, then MENU > Camera 1 > Page 3 > Memory > (select location to which you'd like to save the camera's current setting) and press the center rear button to save the settings there.
Each memory also recalls your zoom setting, so I set mine about midway between tele and wide so I'm at a normal setting first.
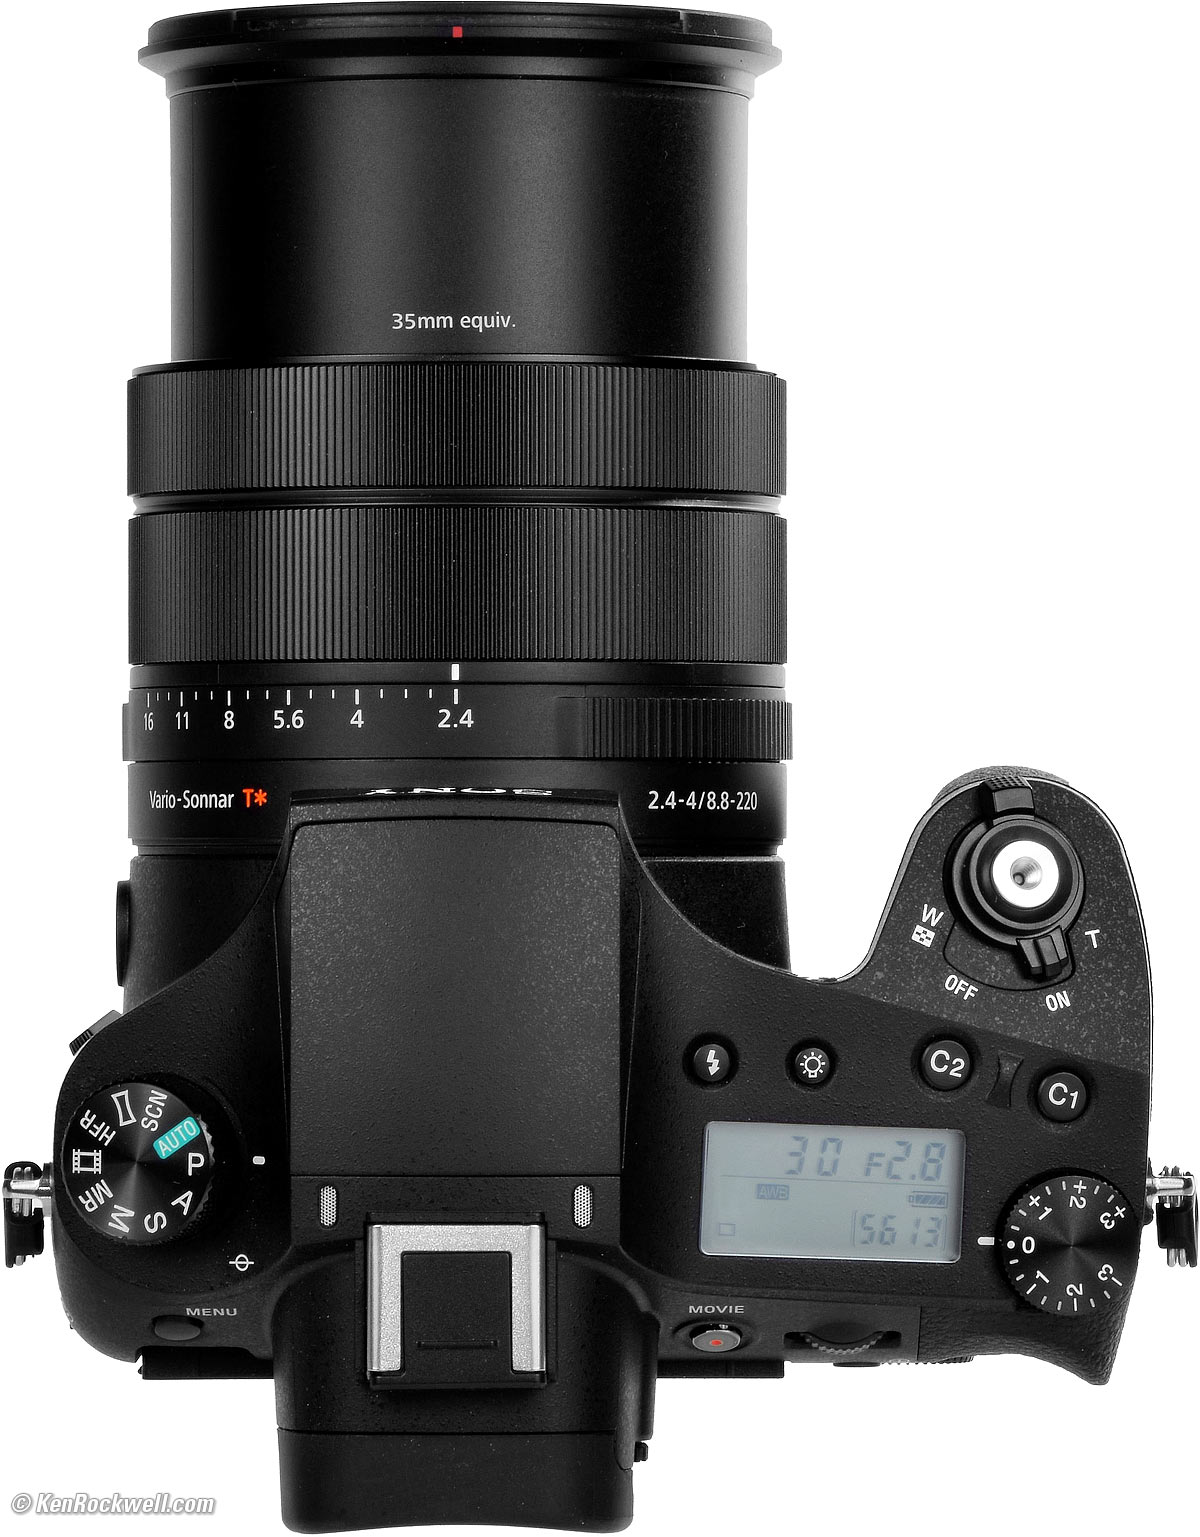
Memory Setting |
Where Set* |
1 |
2 |
3 |
Subject |
Places & Things |
People |
Sports & Action |
|
Resolution |
Menu > Camera 1 > Page 3 > Memory | 20 MP |
10MP** |
10MP** |
Aspect Ratio |
Menu > Camera 1 > Page 1 > Aspect Ratio | 3:2*** |
4:3*** |
4:3*** |
Creative Style |
MENU > Camera 1 > page 10, or Rear Fn button, then bottom middle of screen | Vivid with +3 Saturation |
Standard, with +1 Saturation | Standard, with +1 Saturation |
Auto ISO minimum speed |
MENU > Camera 2 > page 7 | "Auto," which varies automatically with zoom setting; typically 1/15 at wide and 1/125 at tele | 1/125 to freeze people | 1/500 to freeze action |
Advance mode |
Rear Fn button, then bottom left of screen | Continuous Shooting Lo (3½ FPS)**** |
Continuous Shooting Lo (3½ FPS)**** |
Continuous Shooting Hi (10 FPS)**** |
* You can reprogram many of these to come up elsewhere for your convenience.
** 10 MP is more than enough for anything and increases my workflow speed and throughput. I only use 20MP for place and thing photos, but even 5MP is plenty. No one needs 20MP; it slows your computers. I have no problem selling 5MP files to McDonald's and Merck Pharmaceuticals for thousands of dollars, so don't worry. Feel free to use whichever you prefer.
*** While 3:2 is the default and native shape of the sensor, 4:3 is more optimum for most subjects because most subjects fill a 4:3 shape better than a 3:2. Since I'm not throwing anything away when shooting at lower resolutions I often get better pictures in 4:3 or square.
**** At 3½ FPS I get one shot if I lift my finger. At 10 FPS and 20 FPS I always get several shots, even if I only wanted one. Feel free to use 24 FPS (Hi) if you want, especially for sports and action.
Hints
If you change a setting, the RX10 remembers it even if you turn the camera off and back on. If you want to recall the originally saved preset, you have to select it again.
Sony's menu system is poor, so you'll wind up erasing and resetting these by accident for a while until you realize that MEMORY really means ERASE MEMORY.
If you're trying to recall a setting, only press things that say RECALL. Be sure it says RECALL, or you'll erase your carefully set settings in one click.
Memory Recall
You'll need an SDXC card to recall your memory settings. What? Even if you aren't recording video, Sony demands an SDXC card for recording 4K video, and since the RX10 IV defaults to a 4K video setting, attempting to recall a saved preset without having an SDXC card won't work; it won't recall your setting.
Either use an SDXC card, or be sure to program the video to a format that will work with slower cards.
You can't program a button to recall setting presets. If you assign this by pressing MENU > Camera 2 > Page 9 > Custom Key (Shoot.) > Custom Button 3 > Memory, that function SAVES the current state to that memory location; it doesn't recall it. Oops; Sony needs to add a way for fast recall, not fast saving.
I set my Fn button to display a Memory Recall option in MENU > Camera 2 > Page 9 > Function Menu Set.
I find the fastest way to recall a Memory Recall setting is to turn the top dial away and back to the MR position, select the setting I want, and then hit the center button to get to it.
Autofocus Settings
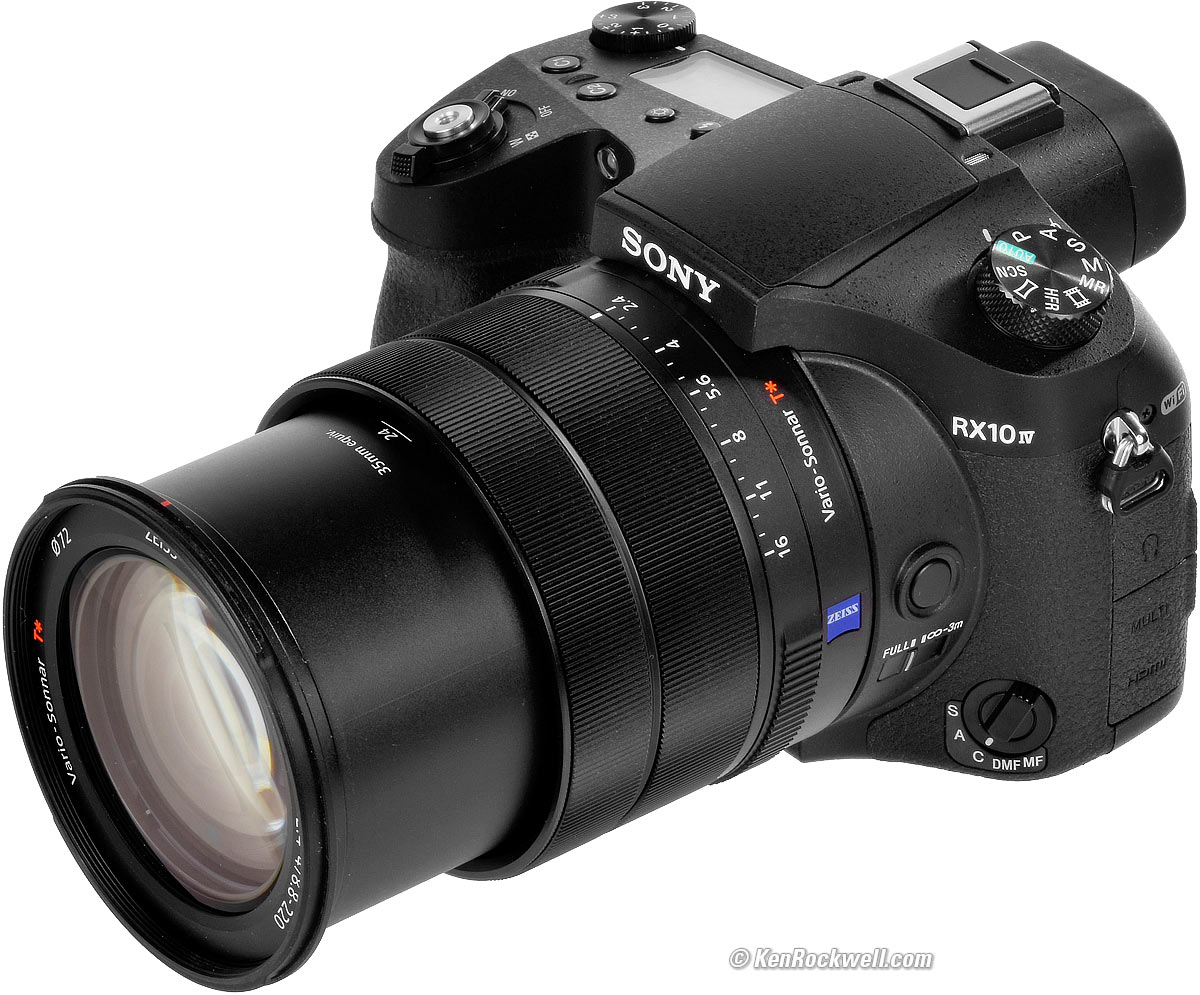
Autofocus Controls, Sony RX10 Mk IV. bigger.
AF Mode Control
There is a lever marked S A C DMF MF. These settings mean:
S: Single Autofocus. It focuses, and locks. Use this for still subjects.
A: Auto Autofocus. Depending on what your subject is doing, it either focuses and locks like the S position, or continuously tracks the subject as in the C position.
C: Continuous autofocus. The camera continuously tracks your subject as it moves.
DMF: The same as Single autofocus, but lets yo move the manual focus ring any time for instant manual override.
MF: Manual Focus. turn the ring to focus. There is no autofocusing in this position.
Face Detection & Facial Recognition
Enable this at MENU > Camera 1 > page 14.
FULL / ∞-3m switch
The FULL / ∞-3m slide switch lets you limit the range over which the autofocus system operates:
FULL lets the camera operate normally and focus at all distances.
∞-3m prevents the camera from focusing closer than 3 meters (10 feet). Use this position if you're shooting at a distance at the longer end of the zoom range and the autofocus system is slowing down because it's trying to find subjects closer. Using this position tells it not to look for subjects closer than 10'/3m.
AF Lock Button
Hold the unmarked button to the right of ZEISS and above the FULL / ∞-3m slide switch, to lock the autofocus.
AF Mode Display in Finder
You have to set the DISP mode to show enough details to see this.
In the simpler display modes the RX10 isn't smart enough to blip these up for a moment as I move the switch; I have to stop and look at the front of the RX10.
Exposure Mode
I almost always use P (Program), which favors wide apertures in the RX10. Set this on the top left dial.
No worries if I want smaller apertures; I just flick the rear dial until I get the combination of aperture and shutter speed I prefer.
Shooting Sports
For sports, set facial recognition ON at MENU > Camera 1 > page 14.
Set the AF mode switch on the front of the camera to C, for continuous autofocus.
Set the advance mode (Fn > wind the box at the bottom left for advance mode) to continuous (the bearded rectangle) and choose a frame rate of Mid (10 FPS) or Hi (24 FPS).
Now just hold down the shutter button and the RX10 Mk IV does the rest, and motors along with a silent shutter.
Hint 1: You can't zoom with a half-pressed shutter. You only can zoom with your finger off the shutter button. It may help not to try to use the zoom ring, since it will be ignored while you're rolling. If you use the lever at the shutter button you'll have to take your finger off the shutter to zoom — the only way it works.
Hint 2: Turn off Image Review so the viewfinder isn't trying to show what you just shot while you're still shooting it. Trust me, it works much better with Image Review off (MENU > Camera 2 > page 8 > Auto Review.)
Hint 3: Since you'll be zoomed way in, it's tough to see what and where things are moving. I get much better results shooting with both eyes open. With practice you can shoot even with each eye seeing a different magnification, and keep the camera both zoomed-in and on-target.
Macro
The RX10 gets super-close at wide and long tele zoom settings, but not in the midrange from about 100~300mm. No worries; if you can't get it to focus close, just zoom out, or stand farther away and zoom in.
It can focus so close at 24mm that your subject will be sitting against the lens, and therefore in the dark. Put the subject a little farther away so you can get light on it, and zoom in to fill the frame:
It has different close-focus distances at different focus length settings, I find it best to shoot at the 50mm or 600mm settings:

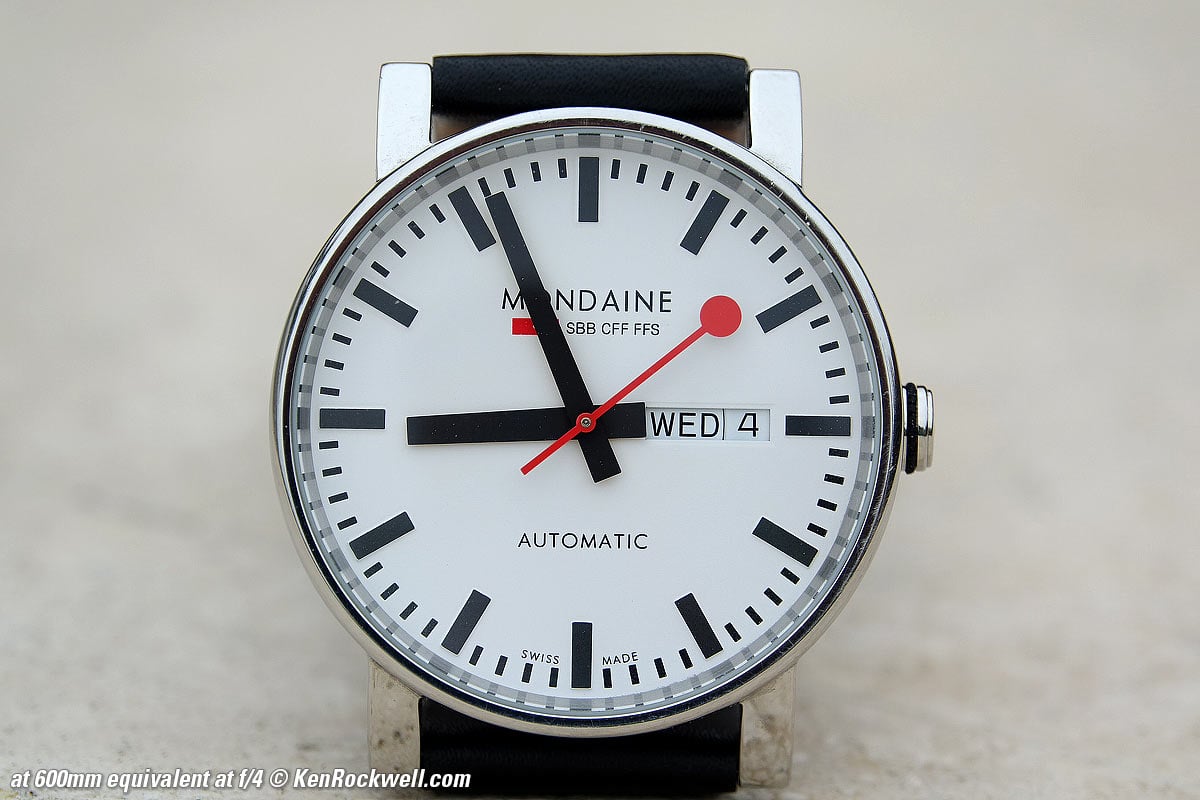
At 600mm, you don't have to be close to be close. Here's a 9-year-old's eyeball from several feet away. You can see me in the reflection:
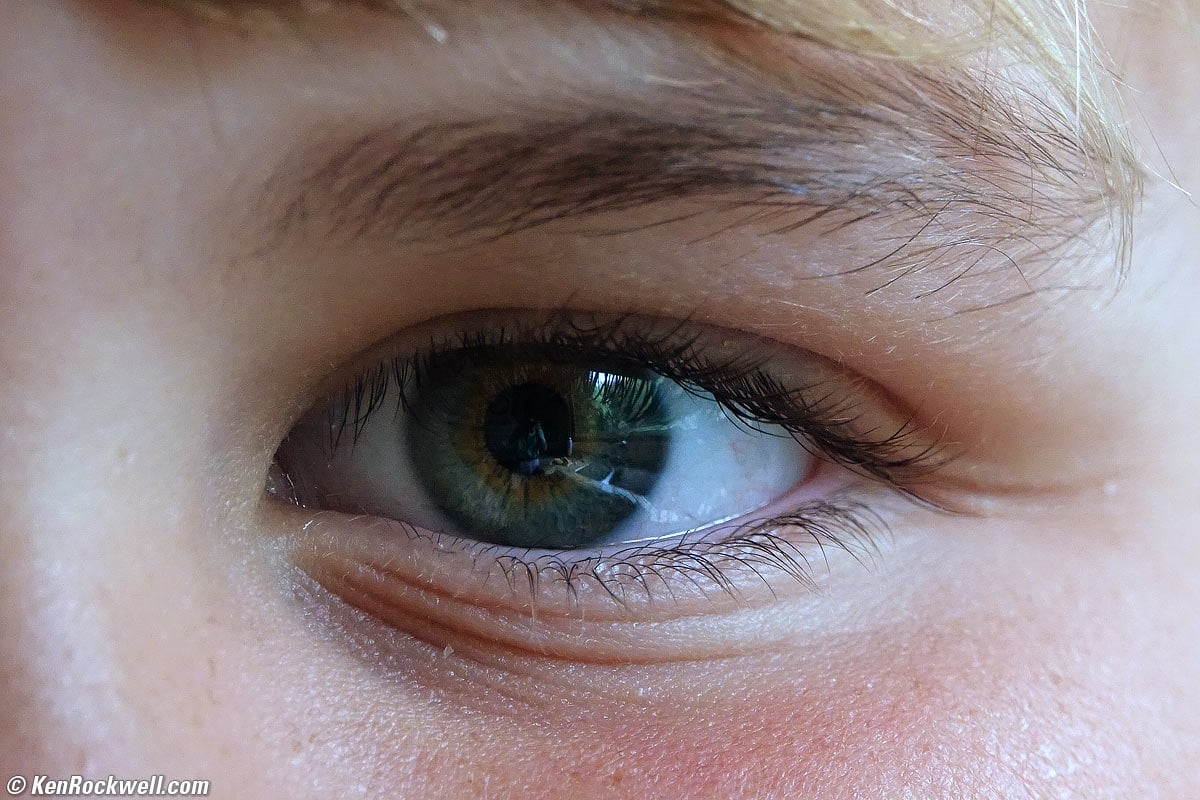
Ryan's Eyeball. Sony RX10 Mk III, lens at 600mm equivalent (220mm actual), wide-open at f/4 at 1/125 at Auto ISO 1,600, Perfectly Clear. bigger.
Dual Record (still shots with video)
This records still shots while rolling video.
You can get 17 MP stills while rolling video, but only with HD video. The camera's processors are so busy shooting 4K that the stills are simply the native 8MP image size of 4K.
You set this option in MENU > Camera 2 > page 2 > Img. Size(Dual Rec).
Video
Card Types
You need to use an SDXC card to record 4K video. Sony does this because you need to use EXFAT card formatting to record files bigger than 4GB, and that requires an SDXC card. Sony figures that you'd rather not have the camera stop, or split the take into 2 files, when the file size reaches 4GB, so that's why Sony requires the SDXC card.
HD video is perfectly happy with FAT32. XAVC S, used with 4K video and high frame rates, also demands EXFAT.
Video Settings
Video rate, file and format settings are hidden in MENU > Camera 2.
The video P, A, S, and M exposure modes are even more well hidden. To set them, set the top dial to the Movie mode (35mm film frame icon), press Fn on the back of the camera, select the bottom right on-screen 35mm frame icon, and then select these with the rear control dial. Whew!
Proxy Recording
This records a second lower-resolution, low-bitrate video file and a 4K file at the same time. You use the low-resolution files for easy, fast editing and creating EDLs (Edit Decision Lists) that you you then use to guide your system reading timecode from your original 4K files to rendering your final 4K output offline — while you're sleeping or otherwise not waiting for your system to render.
You set this in MENU > Camera 2 > page 2 > Proxy Recording > ON.
This 3 MBPS Dual Video Record is the lowest bit rate you can get, but this trick only works in XAVC S 4K format. Otherwise the slowest bit rate is 6 MBPS in other modes.
High Frames Rates and Slow Motion (HFR)
"HFR" on the mode dial and menus means high video frame rates.
These are set in MENU > Camera 2 > page 1 > HFR Settings.
The Slo-Mo options capture clips at high frame rates to the sensor's ultra high-speed DRAM, and then encodes and records this data as a video file which will play at a slower, normal, frame rate.
The "Record," "Frame Rate," "Priority" and "Record Timing" settings need some explanation:
The "Record" setting (MENU > Camera 2 > page 1 > HFR Settings > Record Setting) selects the rate at which the file will play back.
The "Frame Rate" setting (MENU > Camera 2 > page 1 > HFR Settings > Frame Rate) selects the capture rate of 240, 480 or 960 FPS. The higher the frame rate, the slower the motion, but potentially at a lower resolution.
The Priority Setting (MENU > Camera 2 > page 1 > HFR Settings > Priority Setting) simply selects whether the camera shoots for 7 seconds (Quality Priority) or for 3 seconds (Shoot Time Priority).
Here's the coolest part: since the RX10 IV is grabbing all this high speed sensor data on the sensor's own DRAM, the RX10 allows you to start recording after your action has happened! It will continuously buffer video, and stop and record whatever just happened for a couple of seconds before you press the shutter! This makes it easy to catch a slo-mo of something random happening.
You set this in MENU > Camera 2 > page 1 > HFR Settings > REC Setting. Start trigger is normal (records for a couple of seconds after you press the shutter). End Trigger records the couple of seconds before you press the shutter!
Of course these couple of seconds can stretch out to minutes of playback time depending on how you set it.
180º Shutter Angles
Like all video cameras, exposure times get shorter in good light, leading to choppier video that can start to look strobed.
If you want exposure times to approximate Hollywood's standard 180º shutter angle for a genuine film look, use a 72mm neutral density filter if you need to in daylight to get slower shutter speeds.
Hollywood motion pictures have been shot at 24 FPS for almost 100 years, and 24 FPS remains today's standard if you want a film look. 24 FPS with a 180º shutter angle equals a 1/50 shutter speed. Shoot at anything higher and motion starts to look jumpy. A 1/50 shutter renders motion naturally as it appears to our eyes.
Silent Mode
This is the Electronic Shutter, set at MENU > Camera 2 > page 5.
I leave this at AUTO; I prefer the silent electronic shutter, except that flash only works with the regular nearly-silent mechanical shutter. When set to Auto, the RX10 just figures this out on its own.
I set this for my people pictures, and unexpectedly when I hand my camera to a stranger, they wind up firing off 24 shots with a short press of the shutter, not realizing that the camera was shooting all along. This is great because it means I get quite a few shots from which to select instead of just one. This shot was made this way:

Dad and kids in an E400 convertible. (Sony RX10 Mk III, lens at 24mm equivalent (8.8mm actual), no flash, f/2.5 at 1/124 at Auto ISO 320, Perfectly Clear.) bigger.
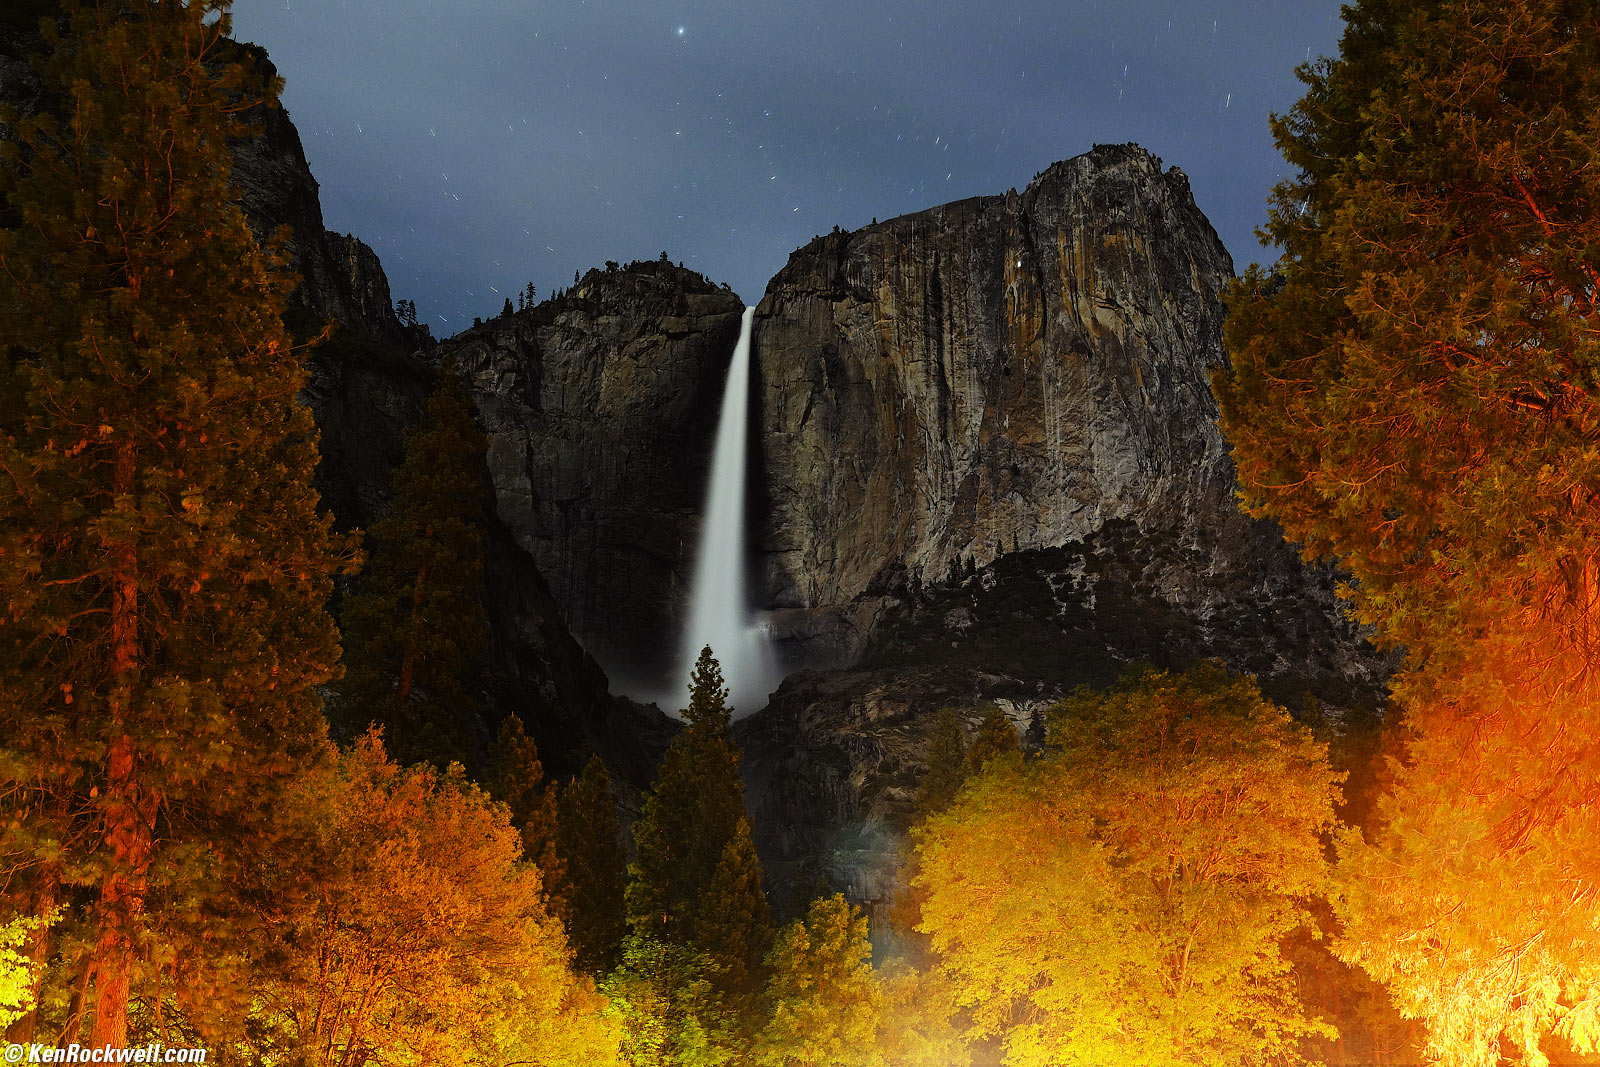
Bulb Mode and Time Exposures

Yosemite Falls by Starlight. Sony RX10 Mk III at 40mm equiv. (14.2mm actual), f/3.2 for five minutes at ISO 100. bigger or full-resolution file to explore on your computer (mobile devices rarely display the full resolution properly).
Long time exposures out to at least several minutes are easy to do. Set Bulb mode and use an ordinary screw-in cable release to hold the shutter open as long as you like.
Bulb mode is well hidden. To set the Bulb mode:
1.) Set M on the mode dial.
2.) Set Single frame advance mode (press the rear Fn button and look on the screen, usually at the lower left, for the advance mode icon). If you leave the camera at any of the continuous, self timer or other advance modes, the Bulb mode simply won't appear in the next step!
3.) Use the rear dial to select Bulb mode, which is one click slower than the 30 second manual shutter setting.
4.) Use an ordinary screw-in cable release to hold the shutter open as long as you like.
5.) I use a dedicated stopwatch to time exposures; your iPhone has a stopwatch and a count-down timer to help you do this as well.
6.) Release the shutter when done.
Always shoot at the lowest ISO you can for the best results with every camera.
See the Long Exposure NR note next:
Long Exposure NR
Long Exposure NR makes a second equally long exposure with the shutter closed, which detects any noise that might be picked up. The RX 10 4 then subtracts this noise from the image it just captured. Astronomers call this dark-frame subtraction.
The RX10 IV has Long Exposure NR off by default. If you turn it on it may get you cleaner images, but you'll also be waiting around in the dark twice as long for each exposure while it exposes dark frames. The RX10 will hang-up and display "PROCESSING" for as long as your original exposure before you can do anything else.
Here's how to turn it on:
MENU > Camera 1 > page 1 > Long Exposure NR.
Try it both ON and OFF and see if you notice any difference. It will reduce weird color tints at the sides of images or hot pixels; it doesn't reduce high ISO grain or noise. If you have none of these problems, you don't need to use Long Exposure NR and can save a lot of waiting around in the dark.
It doesn't reduce any grain or random high ISO noise; it reduces hot pixels and colored fog.
Always shoot at the lowest ISO you can for the best results.
Zooming
I prefer to use the zoom lever around the shutter for fast zooming, and the zoom ring around the lens for precise framing.
Zoom is electronic, and you can't zoom with your finger half on the shutter.
It turns back on at your previous zoom setting, even if it was 600mm, so if you don't expect to be needing 600mm for the next shot, zoom out to a wider setting before you turn it off to save yourself from having to wait for it to motor out the next time.
Zoom Assist
You can program a button to zoom out as you hold it, and zoom back to where you were when released.
This way if you lose sight of a subject while zoomed-in, it's easy to find it again.
Assign this by pressing MENU > Camera 2 > page 9 > Custom Key (shoot) > (select a Custom Button to which to assign this) > Zoom Assist.
Digital Zoom
Sony has many confusing Digital Zoom options.
Clear Image zoom is the best.
Élan
People look foolish looking at the back of a camera while in public. People instinctively know that anyone who has to look at the back of his camera is clueless; either he doesn't have his camera set properly or has little confidence that his images are any good.
If you must look at menus or played-back images while in public, use the electronic finder. You still look as if you're shooting something exciting.
Power and Battery
I get longer battery life turning it off after each shot. Turning it back on and letting the lens motor out uses less power than leaving the RX10 on and letting it time-out after a minute.
Of course if you're making a few shots leave it on, but if you've made your shot and are off looking for the next one, turn it off after each.
I can leave the camera on for a couple of hours while walking around. It's not that big a deal, unless you want a full day of shooting on one charge.
If you shoot a lot each day or can't recharge every night, it's a great idea to keep an extra charged NP-FW50 in your pocket (you don't need a camera bag with this camera).
Especially if you want to charge both batteries at once, get the tiny folding-plug BC-TRW external battery charger so you can charge one in-camera via USB and one in the external charger.
I find the BC-TRW is easier to use and charges faster than fiddling with USB cords to charge in-camera.
Watch Your Fingers
Keep your fingers out of a collapsing lens, otherwise it can and will catch your finger as it tries to close.
If your finger does get caught, it will open back up automatically.
See also Sony's RX10 IV User's Guide PDF.
< < back to Sony RX10 Mk IV Review
© Ken Rockwell. All rights reserved. Tous droits réservés. Alle Rechte vorbehalten.
Help Me Help You
I support my growing family through this website, as crazy as it might seem.
The biggest help is when you use any of these links when you get anything. It costs you nothing, and is this site's, and thus my family's, biggest source of support. eBay is always a gamble (see How to Win at eBay), but all the other places always have the best prices and service, which is why I've used them since before this website existed. I recommend them all personally.
If you find this page as helpful as a book you might have had to buy or a workshop you may have had to take, feel free to help me continue helping everyone.
If you've gotten your gear through one of my links or helped otherwise, you're family. It's great people like you who allow me to keep adding to this site full-time. Thanks!
If you haven't helped yet, please do, and consider helping me with a gift of $5.00.
As this page is copyrighted and formally registered, it is unlawful to make copies, especially in the form of printouts for personal use. If you wish to make a printout for personal use, you are granted one-time permission only if you PayPal me $5.00 per printout or part thereof. Thank you!
Thanks for reading!
Mr. & Mrs. Ken Rockwell, Ryan and Katie.