Home Search Gallery How-To Books Links Workshops About Contact
Nikon
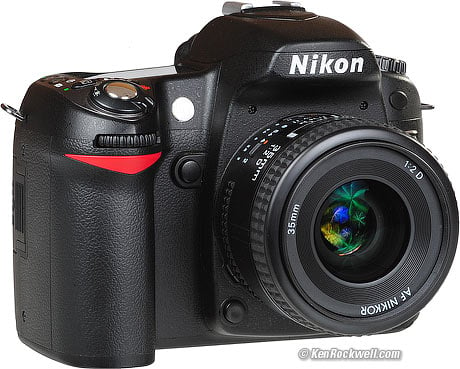
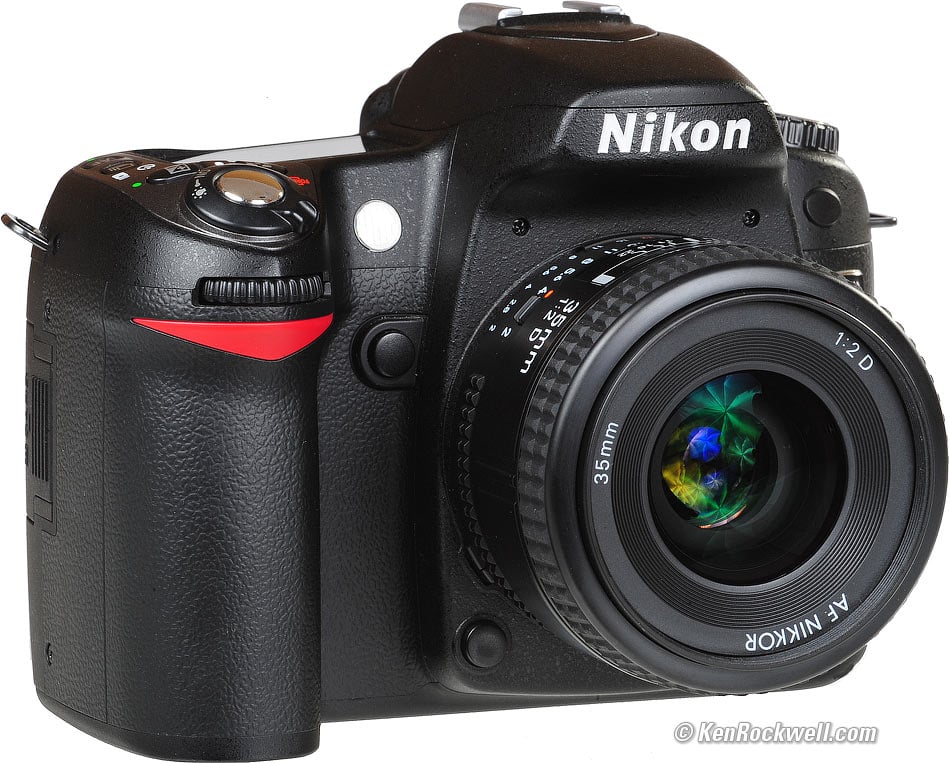
D80 Shooting Menu Back to top of D80 User's Guide. Back to D80 User's Guide page index. SHOOTING
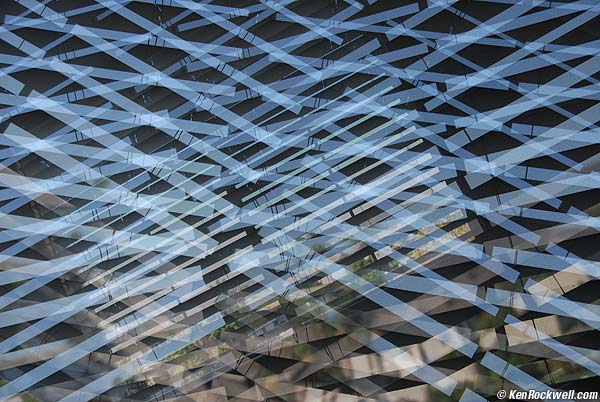
MENU Want free live phone support? In the USA, call (800) NIKON-UX, 24 hours a day, 365 days a year. Many of these menu options are shown only after you select the FULL MENUS option in the Setup Menu and are often deactivated in anything except the P, S, A and M modes. This menu really should be called the Film menu and shown with an icon of a roll of film. More camera settings, like autofocus, flash and timers, are set in the Custom Settings Menu, shown by a pencil. This is Nikon's mistake; don't penalize yourself if the menu names and icons make little sense at face value. How to Get There Press MENU, click left and then up and down to select the camera (shooting) menu. You'll see "SHOOTING MENU" on the top of the LCD monitor. What it Sets It sets parameters related to what film used to do. The Shooting Menu sets ISO, grain, contrast, color and a zillion other critical things that set the look of your images. The shooting menu would make more sense if it were called the Film menu, since many other menus also affect shooting. What I Change I change a lot here. This is where I get the wild colors I love from my D80. This is where you set the look of your image, like the saturation I love. These choices are art. There is no right or wrong if you know what you're doing and know what you want. I'll tell you what I use. Ignore me and Be Yourself if you prefer a different look. Preset Choices There are five fixed preset modes. They cannot be altered. They are: N Normal SO Softer VI Vivid VI* More Vivid PO Portrait BW Black-and-White Black-and-White is a sixth preset mode which does have some adjustments under Custom. The Filter Effects menu under Custom lets the D80 create images which look as if they were shot through a colored filer on black-and-white film. I leave mine set to the RED filter, which increases the contrast of clouds against the sky. You might think I would use Vivid or More Vivid, except that they crank up some of the contrast and sharpness settings and leave them there. I want vivid colors, but leave the contrast and sharpness on Auto. This way as subjects get contrastier I don't have to stop and turn the contrast back down. In VI* you can easily blow out a slightly high-contrast scene. Therefore I use the Custom (pencil icon) setting: Custom (pencil icon) This is where Nikon hides the critical adjustments other camera makers make more obvious. Canon lets you define many of these and recall them easily. Nikon only gives you one setting. Canon also gives you a wider and more precise range of adjustments, and therefore it's easier to make bad mistakes with Canon. The extreme settings here aren't very extreme. Play to your heart's content and see what you prefer. Done "Done" is the most important Custom Optimize Image menu item. If you forget to select it and then click to the right to select OK it forgets everything! Always remember to select DONE and OK after you change any of the settings below, otherwise they will be ignored. Image Sharpening I leave mine on AUTO. I've never messed with the manual settings. Sharpening is an artificial effect not to be confused with sharpness. When I first got a digital camera I thought: "cool, I'm cranking this to 11," and realized my error. Don't turn it up for no reason, since the image can start to look artificial. Play with it if you want. I've played with it out of curiosity, and always leave it on AUTO. Tone Compensation (Contrast) Nikon meant to say Contrast. I always leave mine set to AUTO. In AUTO the D80 automatically applies the Zone System and adjusts contrast to match your subject, for each and every shot! If Nikon's marketing department was paying attention, they would promote this as Automatic Dynamic Range Optimization, since that's what it does and Canon has nothing like this. The D80 automatically lowers contrast and increases dynamic range for very contrasty subjects, and cranks up contrast for dull subjects. Saturation also varies with this setting. If you crank it to + it looks vivid and bold for flatter subjects, but when you have a contrasty subject it's too much and blows out. Leave it in AUTO and you won't have to piddle with it. Avoid Custom tone compensation. Most people call this a custom curve. I've never used it. To use it you have to buy Nikon Capture and create a curve. You then use Nikon capture to load it into the D80. Once you've done that you select it here. If you haven't loaded your own custom curve and select this you get the default Normal curve. Custom curves are way beyond anything with which I want to bother. The curves in the camera are the best ones anyway. Real photographers pay more attention to their subject's lighting. Color Mode has three settings: Color Mode Ia (one-a, sRGB) is default. It's normal and boring. Color Mode II (two, Adobe RGB) gives dull colors. Don't touch this unless you really know what you're doing and print your own work. See Adobe RGB vs. sRGB. Color Mode IIIa (three-a, also sRGB) gives bolder colors. I use it all the time. I have no idea how Nikon cooked up these numeric designations. Saturation This sets the vividness (strength) of colors. A Auto: I don't use this. I suspect it cranks up the color for dull scenes and puts it back to normal for scenes that are already colorful. I prefer always to have my saturation cranked up. 0 Normal: For normal people shots you're probably better off with 0. This is the default. - Moderate: tones down the colors, which I've never liked. "Moderate" sounds like British understatement. In America we call this "dull and boring." Personally I want colors so bright you have to put on sunglasses, or I go directly to B/W. Your interests and taste will differ. + Enhanced: I prefer violent color, so I crank it up to +. I'd use ++ or +++ if my D80 had it, but that's me. Hue Adjustment Don't touch this! This rotates all your colors to different spots around the color wheel. If you use this to fix one color it screws up all the other colors. God only knows why this adjustment is here. Image Quality This duplicates half of the QUAL button. It chooses JPG, raw or both and the JPG compression level. See my discussion of the QUAL button for details, and see examples of these settings at my D200 Quality Settings page. Image Size This duplicates the other half of the QUAL button. It chooses the JPG image size in pixels. It does not directly choose the size of the file in bytes. See my discussion of the QUAL button for details, and see examples of these settings on my similar D200 at D200 Quality Settings. White Balance This duplicates the WB button as explained on the D80 Controls page. ISO Sensitivity This duplicates the ISO button as explained on the D80 Controls page. Firmware Defect: the AUTO ISO options are hidden in the Custom Settings Menu! Long Exp. NR This is short for Long Exposure Dark-Frame Subtraction Noise Reduction OFF: Default. Leave it here. ON: Don't use this. If you do, the D80 will double the amount of time you have to wait around for time exposures of 10 seconds or longer. The D80 is so good you don't need this. Nikon only includes this because old-timers would get peeved if it was missing. I have details with examples from my very similar D200 at D200 Dark Exposures. Minor Firmware Defect: the help menu says exposures need to be 8s or longer for this NR to take effect. It's wrong - they have to be 10s or longer, or longer than 8s. High ISO NR This is short for High ISO Noise Reduction This lets you control the strength of the noise reduction (smoothing) applied at high ISOs. I find the default NORMal position optimum. You can set it higher, but it removes subject texture. You can set it lower and get more noise, along with more detail and sharpness. I have details with examples from my similar D200 at D200 High ISO Noise Reduction. Multiple Exposure This is unique. It lets you do what we did back on film.
Easy example: The Blinds in My Office. (5 exposures on my D200.) This works and it's easy to use. Unlike film, it's smart enough to compensate the exposures so they add together without overexposure. To use it: 1.) Choose the number of shots to combine (2 or 3). (The D200 allows for up to 10). 2.) Hit OK. 3.) Go up to DONE. 4.) Hit OK. It only works if you remember to scroll up and hit OK. You'll see a tiny icon on the top LCD that looks like two rectangles mating. Make your shots. You'll see each on the color LCD as you make it. The mating rectangles on the top LCD are now blinking. You'll also see the mating rectangle icon on the color LCD. You'll keep seeing the flashing mating rectangles icon on the top LCD until you complete all the exposures for which you asked in step 1.). The D80 won't tell you how many you've made until you're done. You can cancel it in the same menu if you want. Choose RESET. When you've made the last shot the D80 shows it as it did for the other shots for a moment, then goes off and adds them all together. After the CF light blinks a few times you'll see the composite image on the color LCD. The intermediate single images are not saved. It works with JPGs and NEFs. Don't turn off the automatic exposure compensation, called Auto Gain. If you do you'll get at least a stop of overexposure. PLUG My D80 User's Guide continues below. No one pays me anything to write all this. I do it because I love to help. If you find this as helpful as a book you might have had to buy or a workshop you might have had to take, please help me share more. Thanks! Ken back to top of page back to top of Nikon D80 User's Guide MENUS CUSTOM SETTING MENU < NEXT
Caveat: The ads below come from a third party and I don't see or approve them. They are sent to your screen directly from a third party. They don't come from me or my site. See more at my Buying Advice page. Personally I get my goodies at Ritz, Amazon and Adorama. |
Home Search Gallery How-To Books Links Workshops About Contact


