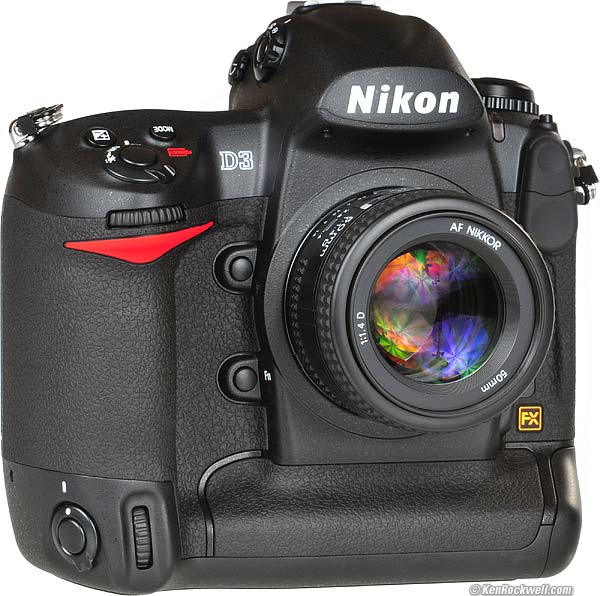
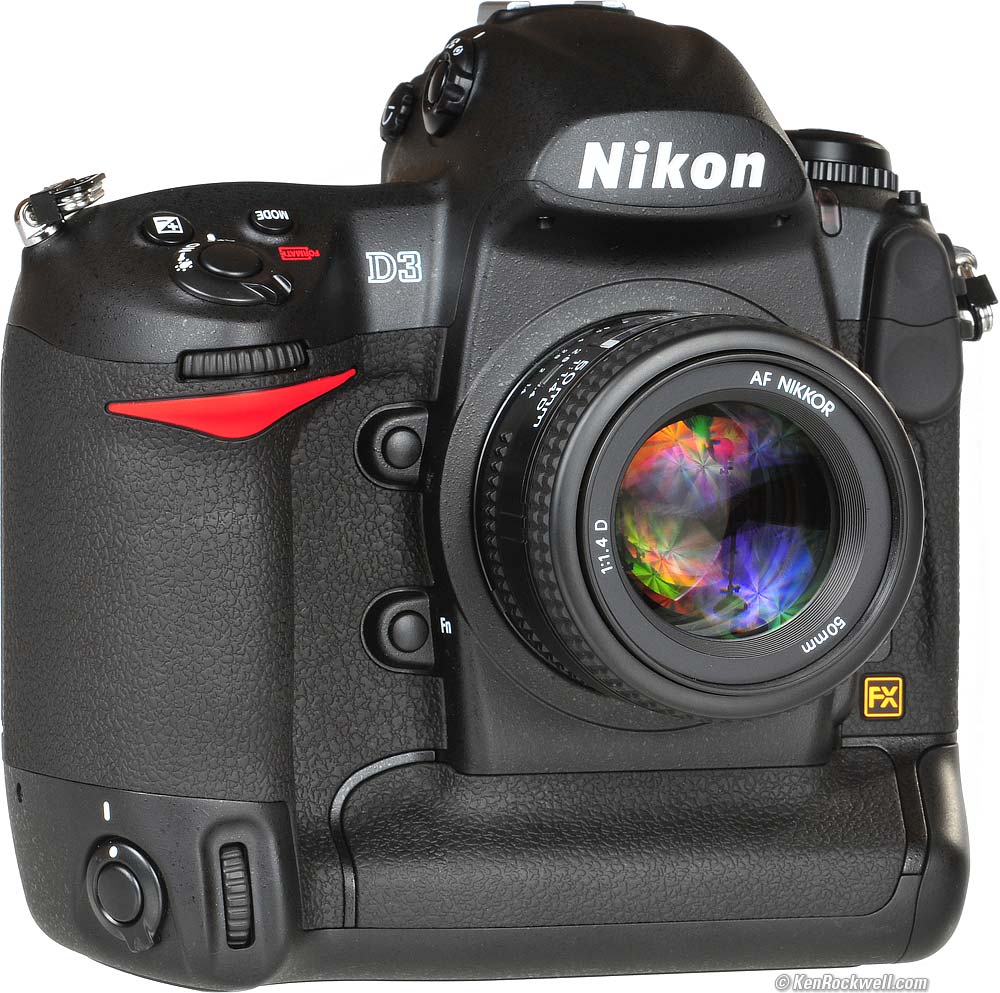
Nikon
D3 User's Guide
© 2019 KenRockwell.com. All rights reserved.

September 2019 User's Guide Page Index D3 Review More Nikon Reviews
This will make you to an expert and teach you every possible nuance of using the Nikon D3. It includes lots of tips, tricks, secrets and the settings I prefer to use, but this alone won't get great pictures.
To get great photos you still need to get yourself to the right place at the right time and point the camera in the right direction, which is a lot harder than mastering the D3. Right out of the box at default settings the D3 does a great job.
Making a great photo involves knowing what makes a great photo, knowing how to get great exposure, knowing when to use the D3's adjustments, knowing how to get great color, locations, timing, patience and a whole lot more. I cover general photography issues here.
Getting great photos out of the D3, or any other camera, really only takes about two settings and a good eye:
1.) Take a picture. Look at the rear LCD. OK? You're done. If not:
2.) Too light or dark? Change the Exposure Compensation and shoot again. OK? You're done. If not:
3.) Colors not right? Adjust White Balance and try again. OK? You're done. If not:
4.) Contrast, saturation or other fine points not right? Adjust the Picture Controls. OK? GREAT! If not, you're either not at the right place, not at the right time, or looking in the wrong direction. It's never your camera's fault.
For more examples of why you'd want to change what settings and why, also see my the "teaching" galleries on my Gallery page.
Looking for a specific control? Use my Search page. Be sure to mention the D3 in your search.
Want free live phone support? In the USA, call (800) NIKON-UX, 24 hours a day, 365 days a year.
Below are the basics. Explicit details follow in later pages linked at the bottom.
Some of my favorite secrets, which I cover in detail throughout these pages, are:
Instant Digital Zoom (great for use with fixed lenses)
Instant high magnification zooming with the center thumb button
Inserting your © and contact info automatically into every file
Using the dials to scroll among images (works when zoomed-in, too!)
How to Use Manual Focus Lenses
How never to shoot without a CF card
and
Camera Settings top
I leave most settings at their defaults. Here's what I do each time I pick up my D3. You also could just download my personal NCSETUP2.BIN settings file as of 18 September 2019 into your own camera. (my personal settings as of September 2011 or my settings as of January 2008 for reference). Details on loading settings; they won't do anything here on your computer.
FORMAT
Always format your card after you put it in any camera, or if you've connected your camera to a computer.
Formatting your card(s) ensures any folder or file corruption acquired anywhere goes away.
You can shoot without doing this, however constant formatting is good practice and should eliminate ever having any card errors. Be sure you've downloaded and backed up all the files in two different physical locations before formatting.
Using the second card slot as a backup means I safely can format my first card right after I've transferred to my hard drive, since a second backup copy resides on the second card in the second slot. The second card isn't formatted with the usual two-finger format.
I reset everything every time I use my camera, much as a pilot uses a checklist before every flight to prevent any switches from being in the wrong position. When I don't check first, I often have left my D3 in some screwy mode, like 2,500K WB and ISO 3,200, from shooting in the dark the night before.
Nikon has an easy reset feature. I use it every time! My standard operating setting is only three clicks different than the reset defaults.
My checklist is therefore reset, Basic, Medium, and A3. Allow me to explain:
Find the two green dots on the ISO • and WB• buttons on the bottom rear of the camera. Hold them both down for a few seconds. The rear LCD blinks and everything is back to normal.
I do this every time I use my D3. If I forget, I may have the resolution or White Balance or ISO or God knows what set to something screwy and spoil all my shots. I'll see WB problems on the LCD, but I won't notice if I left my D3 at ISO 6,400 or SMALL image size from the night before unless I look very carefully. That's why I always use reset and set from there.
Reset leaves the detailed menu tweaks alone and is smart enough to reset only the big dumb things I might have moved overnight.
I use Large, JPG, BASIC, Optimal Quality Mode.
Reset brings you to NORMAL JPG. Once I've reset, I immediately change to my preferred QUAL setting: BASIC. Do this by pressing the QUAL button on the bottom rear and spinning the rear dial one click to the right. This shows as L and BASIC on the rear LCD. L stands for Large image size (4,256 x 2,832 pixels) and BASIC JPG compression.
For most people and family pictures, 12MP is way too much. 12 MP makes great 20 x 30" (50x75cm) prints. 6MP is enough even for great 12 x 18" prints, so I usually shoot at M image size (3,182 x 2,120 pixels). To change the image size, hold the QUAL button and move the front dial one click to the right. You'll see the L change to an M on the rear LCD.
I use a hidden menu option (unchanged with reset) to set the JPG compression mode to Optimal Quality, instead of the default of Size Priority. Do this at MENU > SHOOTING (green camera icon) > JPEG Compression > Optimal Quality. This mode gives smaller files than NORMAL and better quality than BASIC. See details here.
ISO (pronounced Eye-Ess-Oh, not "eyeso.")
I use the default of 200, which is reset by reset. I set Auto ISO (unchanged by reset) to chose ISOs for me automatically. Auto ISO selects ISOs exactly the same way I would, except that now I don't have to.
Auto ISO increases the ISO automatically as it gets dark. It shoots at ISO 200 in good light, and starts ramping it up in lower light to a maximum of ISO 6,400. Only if it gets still darker will it let the shutter speed go below the preset speed. We'll set this slowest speed and maximum ISO to fit our tastes later in the Shooting Menu.
White Balance (WB)
White balance is how you set the color balance, and color is critical to every image.
I use AUTO WB (as set by reset), and a clear UV filter to protect my lens.
I prefer warmer images, so I set WB towards Amber (more orange) by pressing the WB button and spinning the front dial to taste. A6 is a lot of amber, 0 is neutral, and if you want cooler, B6 is much bluer. You read this on the rear LCD as you adjust it. It disappears from the rear LCD when you release the WB button.
I usually run A3, but I'll use A6 in shade. It's not magic; just look at your picture on the LCD and adjust to taste. Whatever looks right is right: this is an art, not science.
See more details at my explanation of the WB Button.
See examples of different settings here and details on my White Balance page.
This is how you get your choice of wild colors or creamy skin tones. I have a whole page about this at Nikon Picture Controls. They work the same way for the D300, D3 and D3.
Picture Controls are how you set your D3 to give you the pictures you want right out of your camera. Learn these, and you'll never have to waste your day screwing around with raw files.
When reset, the D3 resets each Picture Control, including saved Picture Controls, back to its own default. If you regularly change any part of any Picture Control, you'll want to save it that way as its own named preset. See Picture Controls.
I have an entire page on How to Set the Nikon D3's Autofocus Controls.
Metering
I have used Matrix for everything since I got my first Nikon FA back in 1992.
You set this on the rotary switch on the right side of the finder hump. Matrix is the middle position that looks like a rectangle with a dot in the middle. I discuss the other modes at Top Panel Controls.
I use the Exposure Compensation control if I need to lighten or darken the pictures. See my Exposure page for details on getting perfect exposures.
Lens Settings top
Many lenses have no switches or settings. If so, don't worry.
If the switch says "M/A - M " then use M/A. This gives autofocus, and if I grab the focus ring it instantly lets me make manual corrections. As soon as I tap the shutter button again I get autofocus. This M/A setting, if the lens has it, provides both kinds of focus without ever having to move any switches. It's the best.
Older lenses may have an "A - M" switch. Leave those at "A." To get manual focus you must move the switch on the lens, and/or the switch on the camera. It's not automatic. Different lenses require different settings on the camera and lens to get manual. Some, like the old 300mm f/4 AF, required moving both the camera and lens switches! That was a pain.
Non-G lenses will have an aperture ring on the base of the lens where it's attached to the camera. Set this this ring to the smallest aperture (largest number), usually in orange and 16, 22 or 32. There usually is a lock to keep this ring set there, since if it comes off that setting you'll get an error message (fEE) from most cameras.
My D3 User's Guide continues below.
I support my growing family through this website.
This guide is free to read online, but copyrighted and formally registered. If you haven't helped yet and would like to save or make a printed copy of this article for your camera bag, please send me $5.00 for each complete or partial copy that you print or save, for personal use only. Others charge $29.99 for crappier information, and with your honesty I can continue to offer these guides online for less.
If you bought your D3 by clicking through my links, then you've saved money and also helped me write this guide. Thank you and please enjoy it. It's great people like you, and those who help me otherwise, who allow me to keep adding to this site for everyone's benefit.
The biggest help is to use these links to Adorama, Amazon and B&H when you get your goodies. It saves you money and is a huge help to me. These places have the best prices and service, which is why I've used them since before this website existed. I recommend them all personally.
Thanks for reading!
Ken
Page Index top
Back to Top of D3 User's Guide or Top of Nikon D3 Review
These were the basics. Keep reading for explicit details.
KNOBS and BUTTONS
FRONT < < NEXT
MENUS