Home Donate New Search Gallery Reviews How-To Books Links Workshops About Contact
Canon
6D Users Guide:
Movie Menus
© 2013 KenRockwell.com. All rights reserved.
< < top of Canon 6D User's Guide

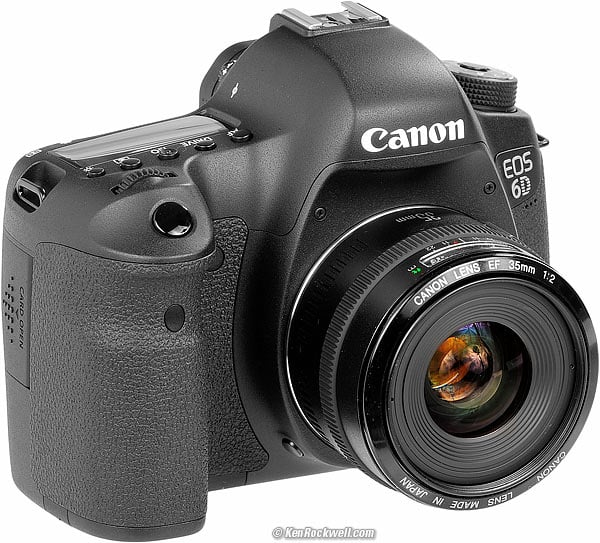
Canon 6D (33.5 oz./950g, about $2,000) and Canon EF 35mm f/2. enlarge. My biggest source of support is when you use any of these links, especially this link directly to it at Adorama (or kit with lens) or directly to it at Amazon (or kit with lens) when you get anything, regardless of the country in which you live. Thank you! Ken.
March 2013 Canon 6D Review Canon Reviews Other reviews
Help me help you top

|
I support my growing family through this free website, as crazy as it might seem.
The biggest help is when you use any of these links when you get anything, regardless of the country in which you live. It costs you nothing, and is this site's, and thus my family's, biggest source of support. These places have the best prices and service, which is why I've used them long before this website ever existed. I recommend them all personally.
If you find this page as helpful as a book you might have had to buy or a workshop you may have had to take, feel free to help me continue helping everyone.
If you've gotten your gear through one of my links or helped otherwise, you're family. It's great people like you who allow me to keep adding to this site full-time. Thanks!
If you haven't helped yet, please do, and consider helping me with a gift of $5.00.
As this page is copyrighted and formally registered, it is unlawful to make copies, especially in the form of printouts for personal use. If you wish to make a printout for personal use here from your browser, you are granted one-time permission only if you PayPal me $5.00 per printout or part thereof.
Thanks for reading!
Mr. & Mrs. Ken Rockwell, Ryan and Katie.
Free live help top
Want free live phone support? In the USA, call (800) OK-CANON.
Movie Settings top
There are two MOVIE menus: MOVIE • and MOVIE ••.
You get to these by turning the Live View lever down to the MOVIE icon, press MENU and click to the two movie camera icons to the right of the first four CAMERA icons.
These settings apply only to Movie shooting, and only appear when the 6D is in MOVIE mode. To get to the Live View menu, you do the same thing, but instead move the Live View lever up to the Live View icon, which then replaces these Movie menus with Live View menus.
These settings apply only to Movie shooting.
MOVIE • top
Live View shoot.
This is set to ENABLE by default.
Set it to DISABLE if you don't want Live View popping up if you hit the LIVE VIEW button by accident.
This set how autofocus works, only while in Movies.
Silent LV shoot.
These are different ways to attempt to make the 6D work more quietly as you shoot. Try the different modes if you're curious.
Metering timer
This sets how long the light meter stays on.
MOVIE •• top
Grid display
This allows you to place a rectangular grid over the image on the rear LCD as a help in keeping the camera level.
This is where you set resolution, frame rate and compression scheme.
The higher the resolution or frame rate, or if you choose "ALL-I," the bigger your files.
Resolution
1920
Choose 1920 (1,920 x 1,080) for subjects that don't move much. This is the resolution to use for HDTV demos of nature, landscapes, cityscapes and wildlife.
Choose 1,920 for theatrical release, and theatrical productions.
1280
Choose 1,280 (1,280 x 720) for sports video. It has smoother motion and is better if you want to convert it to slow motion later.
Contrary to what Japanese makers pitch for selling TVs, 1,280/60 has the same resolution, and uses the same amount of data as 1,920/30.
This is because 1,280/60 has higher temporal (time or motion resolution), while 1,920/30 has higher spatial (left-right/up-down) resolution instead. 1,280 is better for sports, and 1,920 is better for drama — each has the same total resolution.
640
Choose 640 for most consumer uses. Video looks almost as good for still subjects, looks the same for things that move, and most importantly, doesn't clog up your hard drive or card anywhere near as fast. Unless you're a Hollywood ASC DP or have unlimited storage and processing resources, it is unlikely that you have any really good reason to set a higher resolution.
Frame Rates
24
Choose the [24] options for theatrical release. They are really 23.976 fps. Also choose them for movies that look like movies instead of just video.
I use these.
Another advantage of 23.976 is that it's easy to down-convert it later to NTSC and to PAL, from the same file.
30 and 60
Choose [30] or [60] for NTSC-based (American, Japan, Korea, etc.) TV release. It's really 29.97 progressive or 59.94 interlaced fps.
50
Choose 50 for PAL-based (Europe, China, Australia, Russia etc.) TV release.
Compression Scheme
IPB
Choose IPB for normal use.
The video looks the same as ALL-I below, and take up much less space.
IPB video files take much less space because the video is stored taking advantage of the fact that most frames have a lot of repetition from one frame to the next. IPB is far more efficient than ALL-I because it takes advantage of often storing only the changes from one frame to the next, not needing to save all the data of every frame if parts of it were the same as the frame before.
Since movies have frames that are pretty much the same from one instant to the next, IPB is a very efficient way of storing video that looks great.
If you're like me or most people, use IPB.
ALL-I
Choose ALL-I only when you have huge data storage resources and need excruciating precision in frame-by frame editing for theatrical release.
ALL-I is intended for the editing needs of professional teleproduction and motion picture production, not for consumer use.
ALL-I stores each and every frame individually and in its entirety, even if most of it was the same as the frame before. ALL-I takes no advantage of the fact that most frames are very similar to the frames that came before them. Stored as ALL-I, your file has to save all of every frame, even when the background and 90% of each frame is exactly the same as the frame before it.
Only use ALL-I if you're a DP (I'm talking Hollywood, not weekend weddings and local O&O news production). Otherwise, you're burdened with loads of redundant data and won't see any value unless you're doing careful frame-by-frame editing.
The only real technical reason for ALL-I is that each frame is separate, so if you need to cut out and use just three frames, that all three frames are available to cut-out and use separately, while in IPB recording, most recorded frames depend to some extent on the frames before and after them to define themselves.
Even shot IPB, there are still a few I (individual) frames recorded every second, and editing software recreates the entire video stream from the I, P and B frames before you start to edit.
Sound Recording
This is the recording level control.
Leave it at AUTO, or you may set it manually.
Here you also may select a low-cut (wind) filter, and an attenuator. The low-cut (wind) filter only applies with the built-in microphone.
Time Code
This lets you professionals set-up time code to your preferences.
You even can set drop frame or NDF, cool.
Video Snapshot
This is a corny feature to create a series of video clips of a few seconds each.
Ignore it.
PLAYBACK Menu <— Next
Home Donate New Search Gallery Reviews How-To Books Links Workshops About Contact