Home Search Gallery How-To Books Links Workshops About Contact
|
How
to Photograph Snow and Sand
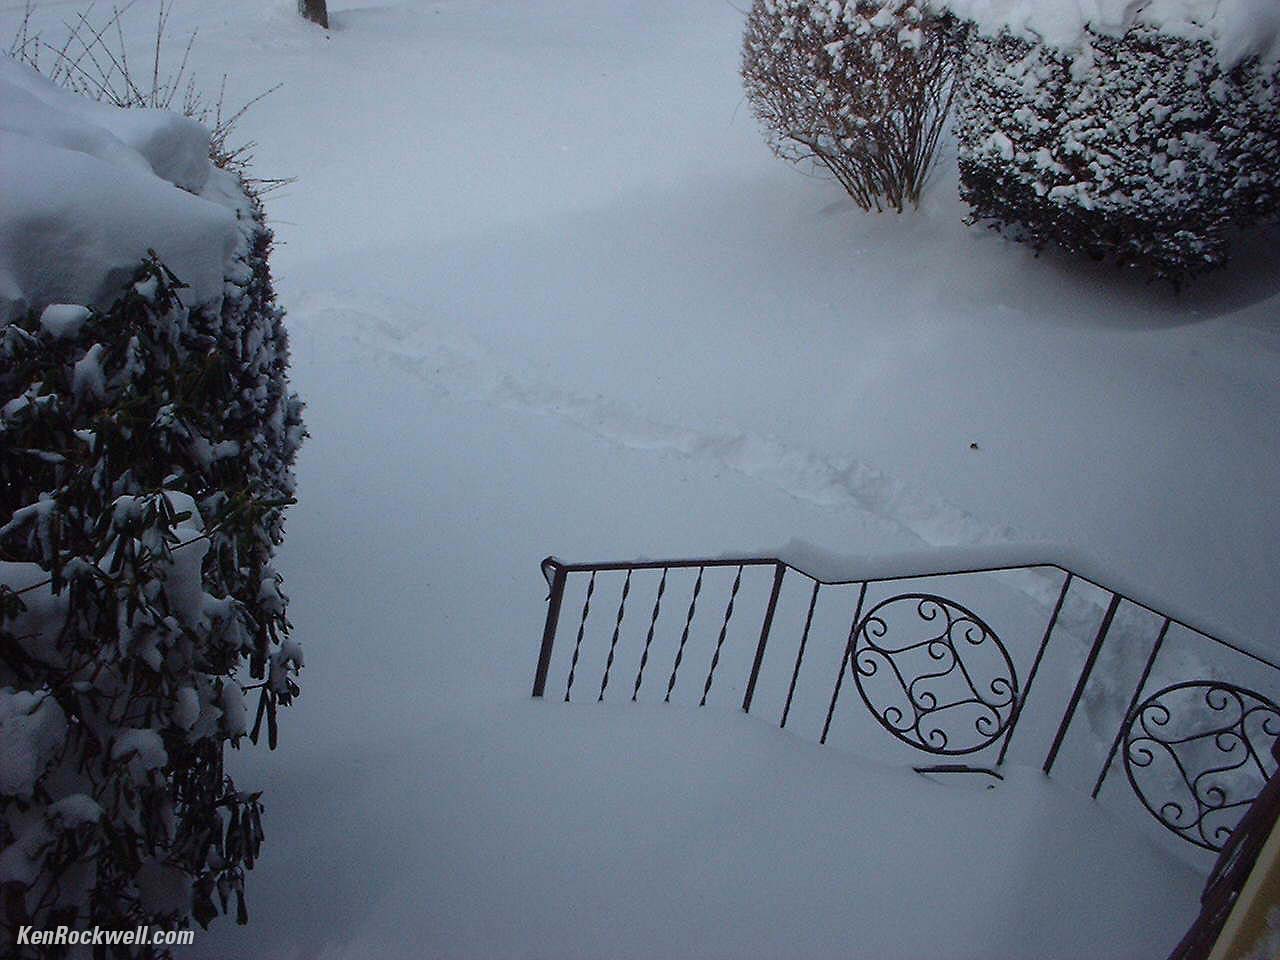
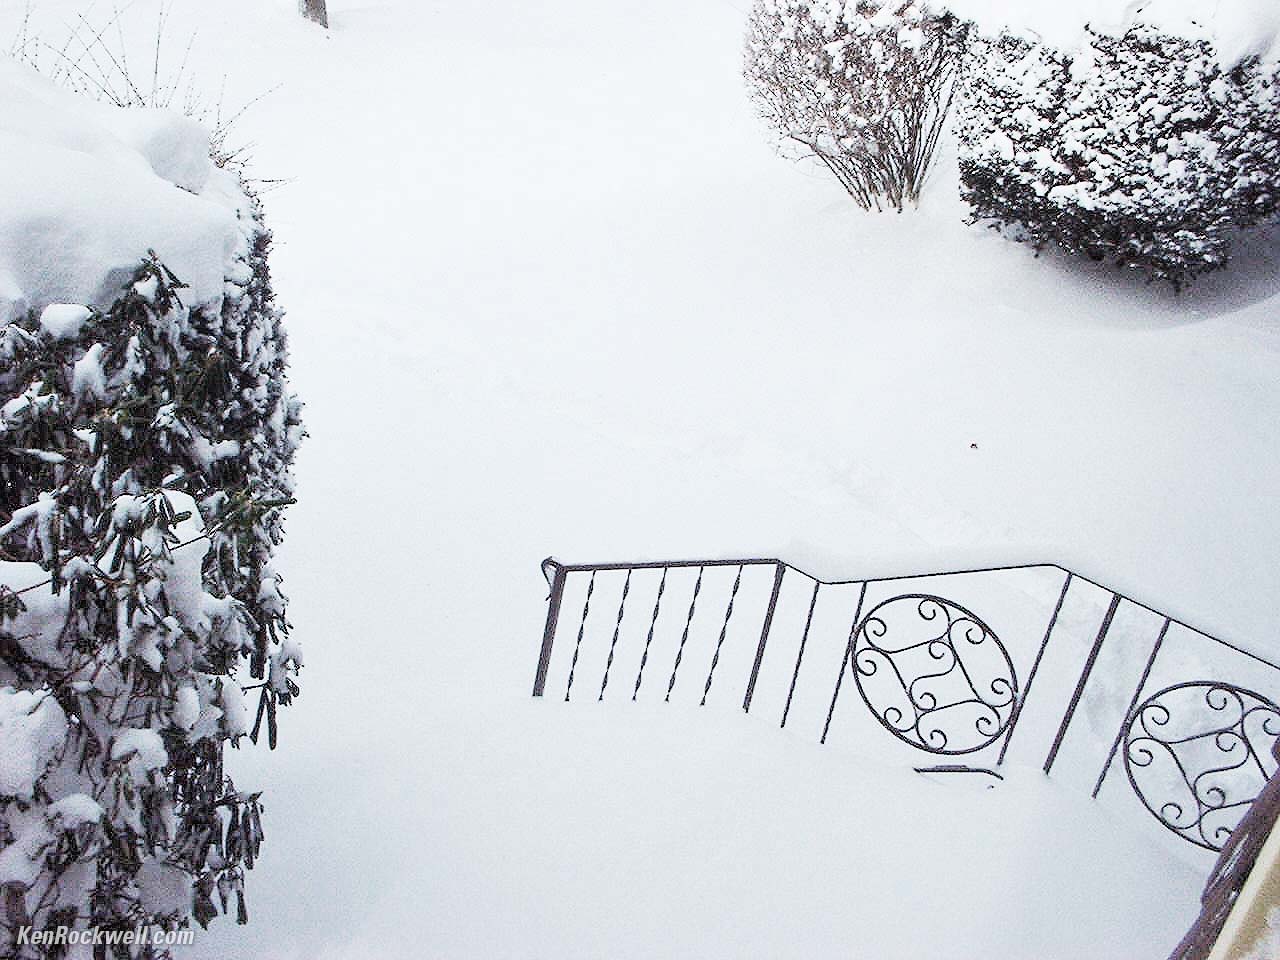
(photos by my mom in NY in 2005, thanks mom!)
Ever wonder why blizzard or snow photos made on overcast days almost always look dark gray and not snowy white like real snow? Simple: all cameras see the the white snow on the overcast day, and their meters think "Wow! This is brightly lit!" They have no way to know you're looking at snow. Instead they think you're looking at a normal gray subject in brighter light. The cameras then proceed to lower the exposure to render white snow as the middle gray the camera expects was your subject. Modern cameras in full sunlight usually get it right. This is because nothing is brighter than our sun, so measuring the exposure on an absolute scale cameras usually figure out that it is indeed snow on a sunny day and make it look correct. On an overcast day cameras have no way of knowing that it's white snow in dim light and not simply a gray object in brighter light. The cure is simple: use your camera's exposure compensation adjustment and add whatever exposure looks correct. Usually +1 stop is about right, but if it takes +2 stops, just use whatever looks best. On old and professional film cameras there usually is a knob. It's set at 0 all the time and usually reads from +2 to -2. Try +1 for starters. On new film cameras and digital cameras there usually is a button or a menu item called either "exposure compensation" or simply labeled "+/-." Set this until it looks good, or just use +1.0 for starters. On iPhones, usually you hold your finger on an important part of the image where you want it to focus, and release your finger when it says "AE/AF LOCK." Now look for the ☀ icon to the right of the box the iPhone drew around the important part of the subject and slide it up to add exposure until the image looks as it should. This works for slides and digital photos. If you are still shooting print film and negatives you'll probably always get bad results unless you use a custom printer, since when prints are made from your negatives the automated printing machine will again make the very same mistake and make them all too dark. This is why pros don't shoot negative film unless they print it themselves. More about film here. |