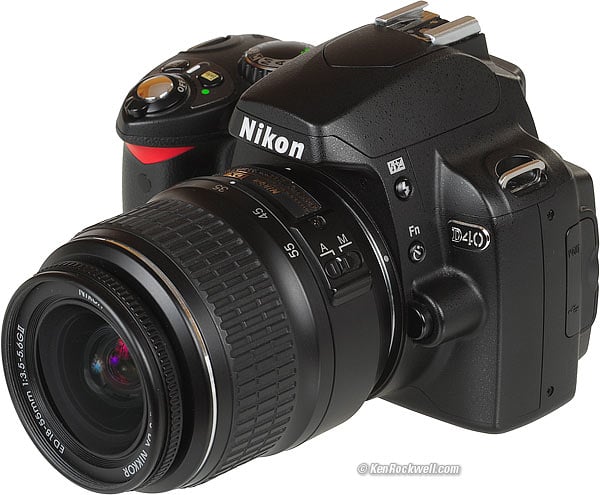
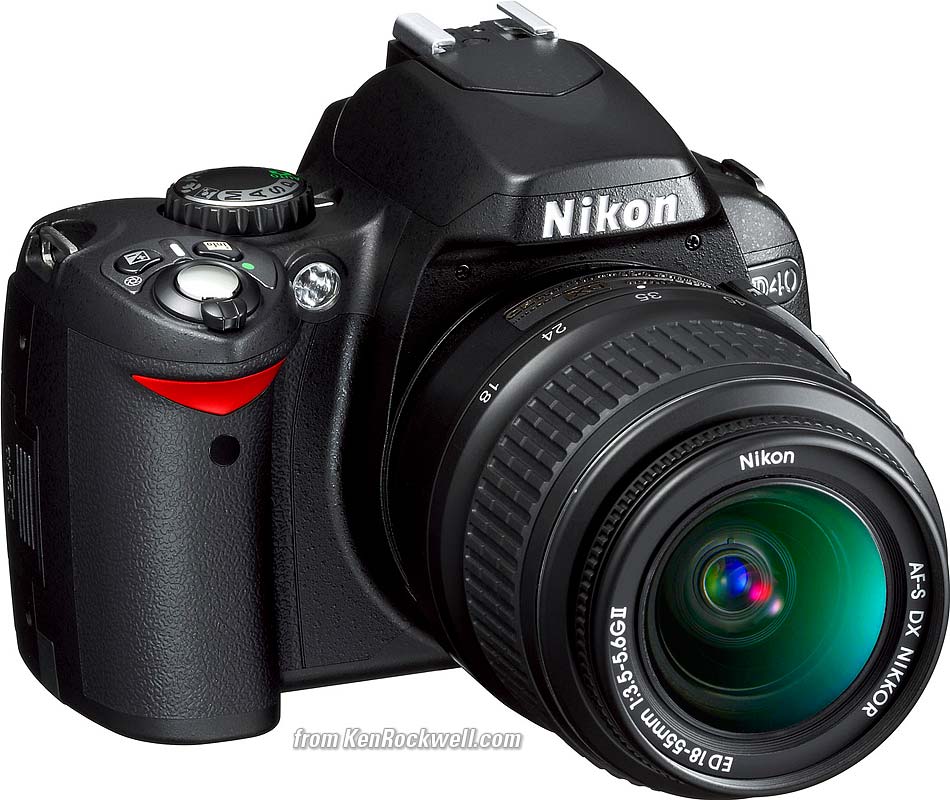
Nikon
D40 Retouch Menu
© 2007 KenRockwell.com

NEW: Nikon D40 Guide iPod and iPhone App 08 July 2009
Back to top of D40 User's Guide.
Back to D40 User's Guide page index.
RETOUCH MENU (brush icon)
I personally buy from Ritz, Adorama and Amazon. I can't vouch for any other ads.
|


Want free live phone support? In the USA, call (800) NIKON-UX, 24 hours a day, 365 days a year.
How to Get Here
Select the Retouch Menu by pressing MENU, moving to the left and then up or down to select the brush icon at the bottom. You'll then see RETOUCH MENU on the top of the color LCD.
Trick: Press the OK button when an image is displayed to get to most of the retouch menu.
What it Sets
This lets you manipulate images in-camera. The originals are unaltered. The D40 creates new versions of the images and saves them.
Concatenation: The D40 is sneaky enough to know if a file was created with these trick modes, and often won't let you apply the same filter twice. You can concatenate different filters.
Firmware Defect: the new images are saved with a file number one more than the most recent image, and are prefaced with CSC, not DSC. The EXIF create time is unaltered, so you'll have to sort images by create time if you can.
This double-defect means that the file numbers of the newly created versions are scrambled from the originals. If you're playing with the most recent image the file numbers are close, but if you're playing with an earlier file, it's file number will be unrelated to the original.
By prefacing the file with CSC instead of DSC the modified files will sort differently than the originals.
The correct way to have done this would be to retain the same file name and append -edit, -edit1, -edit2, etc. For instance, if you make a new version of DCS_0123.jpg, the new file might be called CSC_5837.jpg. Good luck sorting them out! If done correctly, the new version would be named DSC_0123-edit.jpg.
D-Lighting
This creates new versions of images with lightened shadows similar to Photoshop's Shadow/Highlight Adjustment tool.
You have three levels of lightening: Low, Normal, and High. (this is the same, with much clearer labeling, than the D80's Moderate (less), Normal and Enhanced (more) options).
You'll never need this with the D40, because the D40's meter firmware is defective, just like the D80's meter, and usually overexposes, especially images with dark sections.
This trick D-Lighting would have been clever on one of the cameras with a good meter, like the D200, D70 and D50, but not the D80 or D40 which expose for the shadows with a vengeance.
Red-Eye Correction
This creates new versions of images attempting to rectify flash-induced red eyes. This filter is sneaky enough to know if you used flash or not to make the image, and won't let you use this filter if you didn't use flash.
I've never had a problem with red-eye with my D40, so all the better. When I was able to cause red-eye, this filter only corrected half of the eyes!
Trim
This creates new cropped versions of images. No pixels are moved or changed in size. Trim removes unwanted pixels from the sides of an image and saves a smaller image.
Monochrome
This creates new black-and-white versions of images.
It has three modes:
Black-and-White,
Sepia (Brown-and-white) and
Cyanotype (Blue-and-White).
Filter Effects
This creates new versions of images with different colors. You've got your choice of:
Skylight: slightly warmer and pinker.
Warm Filter: slightly warmer.
Color Balance: This one's slick. It calls up a better control panel than Photoshop's color balance tool, which dates from the 1980s.
Nikon's tool reminds me of what we have on million-dollar color correction machines used in Hollywood telecine to color correct motion pictures.
The Nikon D40 shows three histograms (reminiscent of Tektronix' WFM700 waveform monitors) and the D40's Up/Down/Left/Right key becomes the color correction track ball. Click it left and right to alter blue-red, and up down for magenta - green.
If you have something neutral, watch the waveforms, oops, histograms, until they are about equal. Left - right on the Up/Down/Left/Right key slides the red and blue in opposite directions, and green - magenta slides the red and blue equally left or right. The green stays put.
Small Picture
This creates a much smaller version of an image. You've got your choice of 640x480, 320x240 and 160x120 pixels.
Image Overlay
This is silly. It creates a new image by adding two others together in the z-axis (intensity).
It only works with raw originals.
A reader wrote me about a genius plan to use this for in-camera mutilation of large dynamic range scenes by combining two very different exposures. I don't see it working. I'm missing the genius part.
You can't get to this with the OK key on playback. You have to use the menu button.
back to top of page back to top of Nikon D40 User's Guide
MENUS
That's it! Return to top of D40 Users Guide
PLUG
I support my growing family through this website.
If you find this as helpful as a book you might have had to buy or a workshop you may have had to take, feel free to help me continue helping everyone.
If you've gotten your gear through one of my links or helped otherwise, you're family. It's great people like you who allow me to keep adding to this site full-time. Thanks!
If you haven't helped yet, please do, and consider helping me with a gift of $5.00.
It also helps me keep adding to this site when you get your goodies through these links to Adorama, Amazon, B&H, Ritz, and J&R. I use them and recommend them all personally.
Thanks for reading!
Ken